Understanding the MakeForms Inbox View
Video Tutorial
Table Of Contents
- Accessing Inbox View
- Viewing a single Response
- Bookmarking Responses
- Marking Response as Seen / Unseen
- Printing a Single Response
- Exporting Single Response
- Hide / Show Fields in Table
- Searching and Refreshing Responses.
- Tagging your Responses
- Filtering Tagged Responses
- Managing Tags
- Filtering Responses by Source
- Marking Responses as SPAM
The ‘Inbox View’ provided by MakeForms is the standard layout for displaying your data in a table format. As the name implies, its appearance is reminiscent of a typical email inbox.
Accessing Inbox View
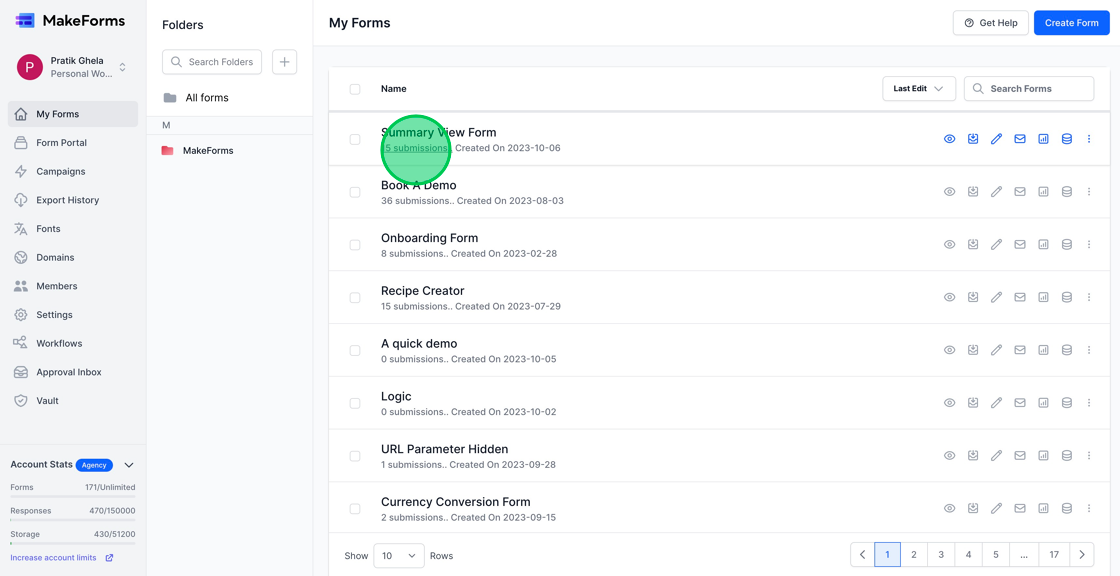
1. To access the Inbox view, you can click on the “submissions” link located below the form name, or click on the “Responses” icon. Either of these actions will take you to a centralized inbox where you can view and manage the responses your form has received.
2. In the “Inbox View”, all the unviewed responses will appear in “BOLD” text. Once you open a response, the text will change to a regular font, indicating that the response has been viewed. You can open and review any response by simply clicking on it. This feature helps in differentiating between new and already reviewed responses, making the management of form submissions more organized and efficient.
Viewing a single Response
1. Upon clicking a response, a detailed modal will slide open from the right, presenting all the pertinent information regarding that particular response. You also have the option to append notes to individual responses for future reference or collaborative purposes. To add a note, open the desired response and scroll down to the bottom of the modal where you’ll find a blue button labeled “Add Note”. Click on it, enter your notes in the provided field, and hit “Save” to store your notes alongside the response. This feature facilitates better organization and follow-up actions regarding the responses received.

2. You can modify or erase the notes by clicking on the three dots icon located next to your note. This action will present you with options to either edit or delete the note, allowing you to keep your response annotations updated and organized.

3. You can navigate through submissions effortlessly by utilizing the “previous” and “next” buttons situated at the top right corner of the modal. This feature enables a streamlined review process of the responses, enhancing your efficiency in managing the collected data.

Bookmarking Responses
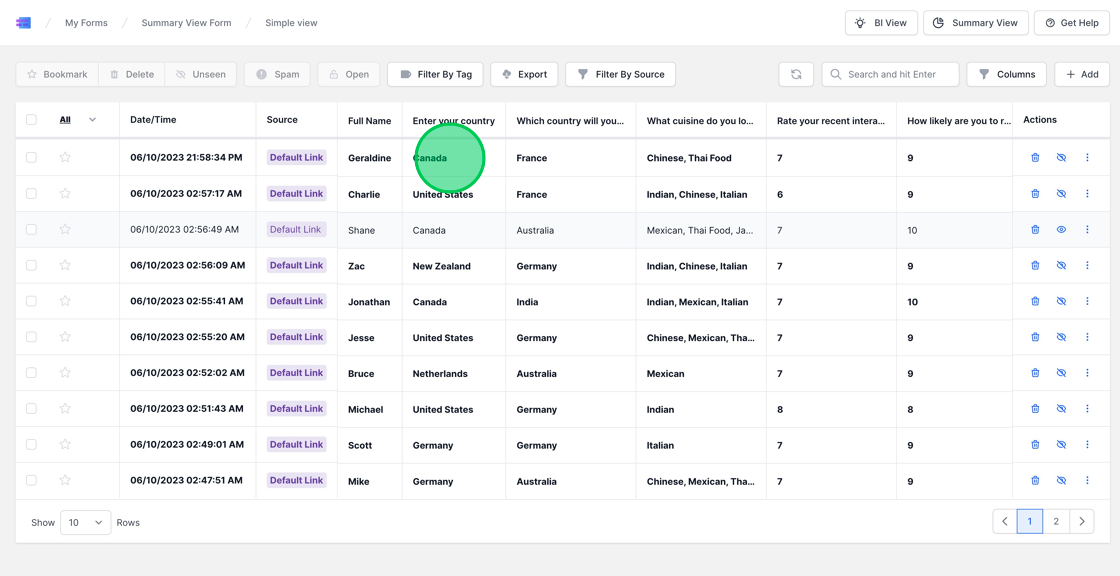
1. For certain responses that you may want to highlight or revisit later, you have the option to mark them as favorite or bookmark them by clicking on the star icon. This feature helps in categorizing or earmarking important responses, making it easier to find and refer back to them at a later time.
2. Should you wish to bookmark multiple responses for future reference, simply select all the desired responses you want to mark as Favorite/Bookmark. Once selected, click the “Bookmark” button located at the top of the page. This feature facilitates bulk action, saving time and ensuring that you can easily reference key responses in the future.

3. To view your “Bookmarked” responses, click on the “All” dropdown menu, then select the “Starred” option. This will filter and display all your bookmarked responses, making it easy to locate and review the responses you’ve marked as important or noteworthy.

Marking Response as Seen / Unseen
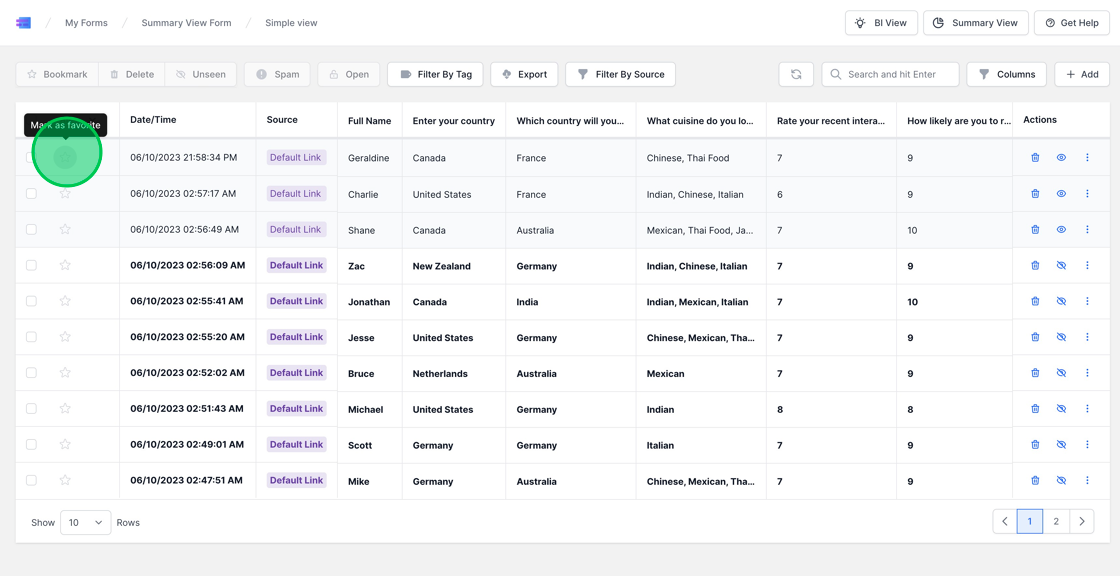
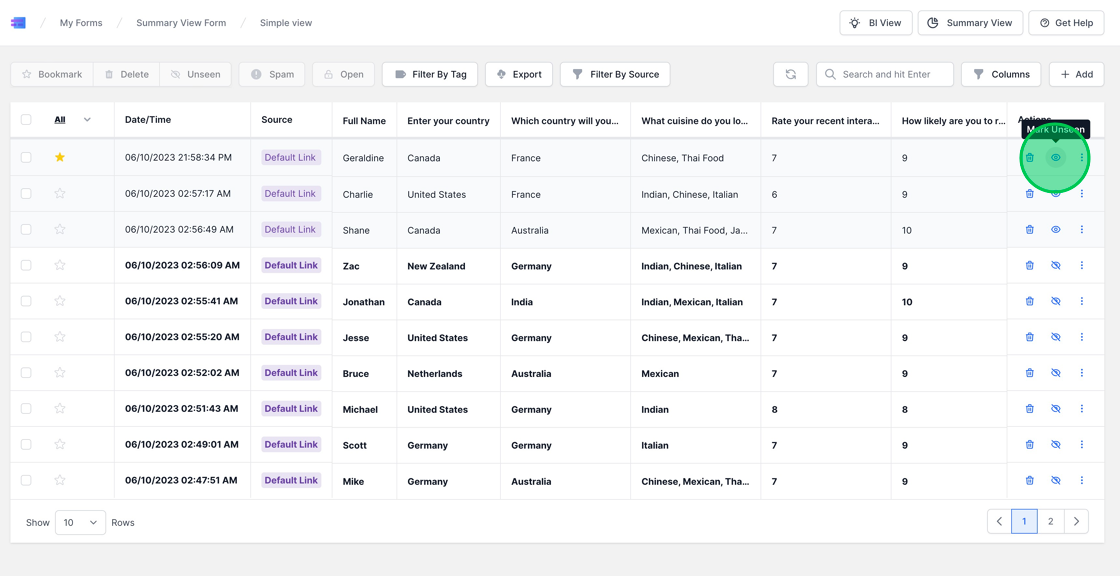
1. You also have the option to mark a response as seen or unseen by clicking on the eye icon. This feature allows you to manage your responses’ read status, which can be particularly useful in keeping track of which submissions have been reviewed, especially in a collaborative environment.
2. In the Inbox view, there’s a feature that allows you to mark multiple responses as Seen or Unseen collectively, which is a time-saver when managing a large number of responses. To utilize this feature, first select all the responses you wish to mark, then click the “Seen/Unseen” button located at the top of the page. This action will toggle the seen status of all selected responses, helping you to manage the read status of submissions in a more efficient manner.

Printing a Single Response
1. To print a single response, click on the three dots icon, then select the print icon from the dropdown menu that appears. This action will prepare the specific response for printing, allowing you to have a physical copy for reference or for sharing with others.

Exporting Single Response
1. To export a single response, click on the three dots icon, then select the download button from the dropdown menu. This action will initiate the download of the specified response, allowing you to save it locally on your device for future reference or analysis.

Hide / Show Fields in Table
1. Within the Inbox view, you have the flexibility to show or hide specific fields based on your preferences. To manage this, simply click on the “columns” option, then select or deselect the fields you wish to display or hide. This customization allows you to tailor the view to focus on the information that is most pertinent to you, thereby enhancing the ease and efficiency of managing responses.

Searching and Refreshing Responses.
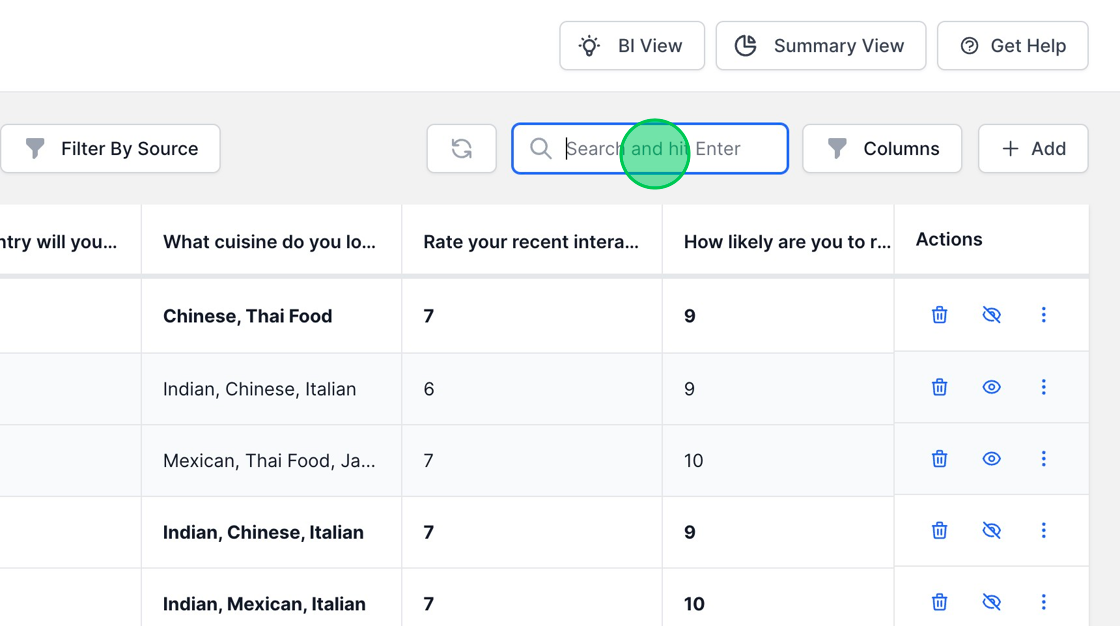
1. To search through your responses, simply enter the text you wish to search for in the search bar, and then hit Enter. This feature will filter and display the responses containing the search text, making it easier to locate specific information within your collected data.
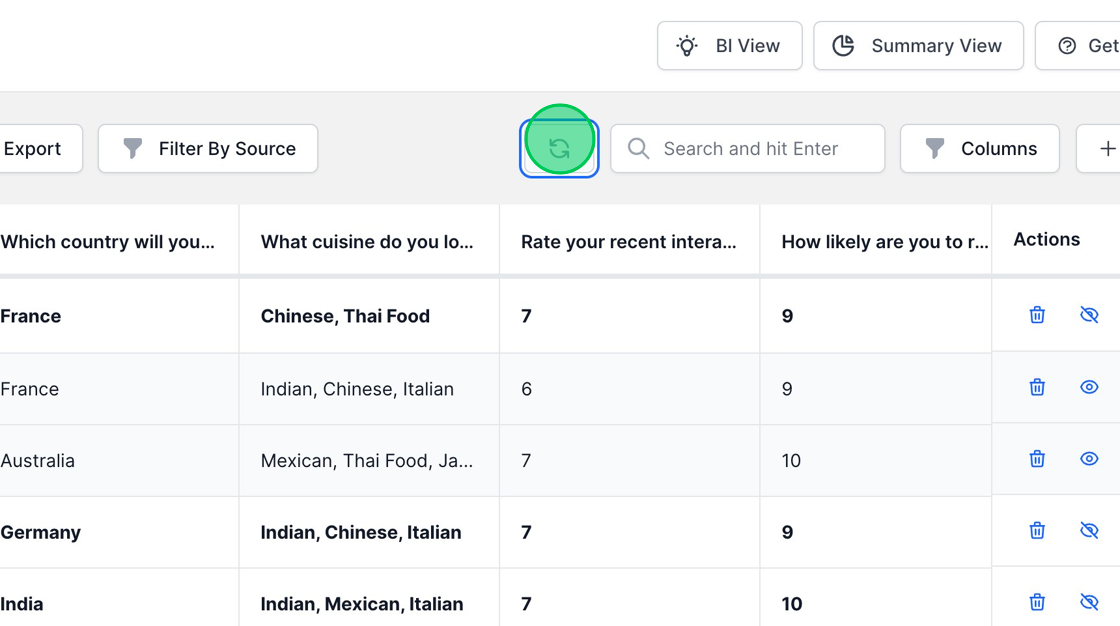
2. You can click the refresh button to retrieve the latest submissions. This action ensures that your inbox is updated with the most recent responses, aiding in keeping your data review process current and timely.
Tagging your Responses
1. One notable feature of the MakeForms Inbox view is the tagging capability, which allows for better organization and categorization of your responses. To tag multiple responses, simply select the responses you wish to tag. This feature facilitates easier filtering and identification of related responses, making the management of collected data more efficient.

2. After selecting the desired responses, click the “Add Tag” button located at the top of the page. You can either choose from existing tags or click the “Create New” button to formulate a new tag. Assigning tags helps in organizing your responses, making it easier to filter and find related entries as needed.

Filtering Tagged Responses
1. Now we’ll attempt to filter the responses tagged with “France”. To start, deselect any selected responses, then click the “Filter By Tag” button. Upon clicking, all the tags you’ve set will be displayed. Select “France” from the list and then click “Apply”. Now, you’ll see the two responses tagged with “France” are being displayed, showcasing how this feature aids in quickly locating specific sets of responses based on the tags assigned.

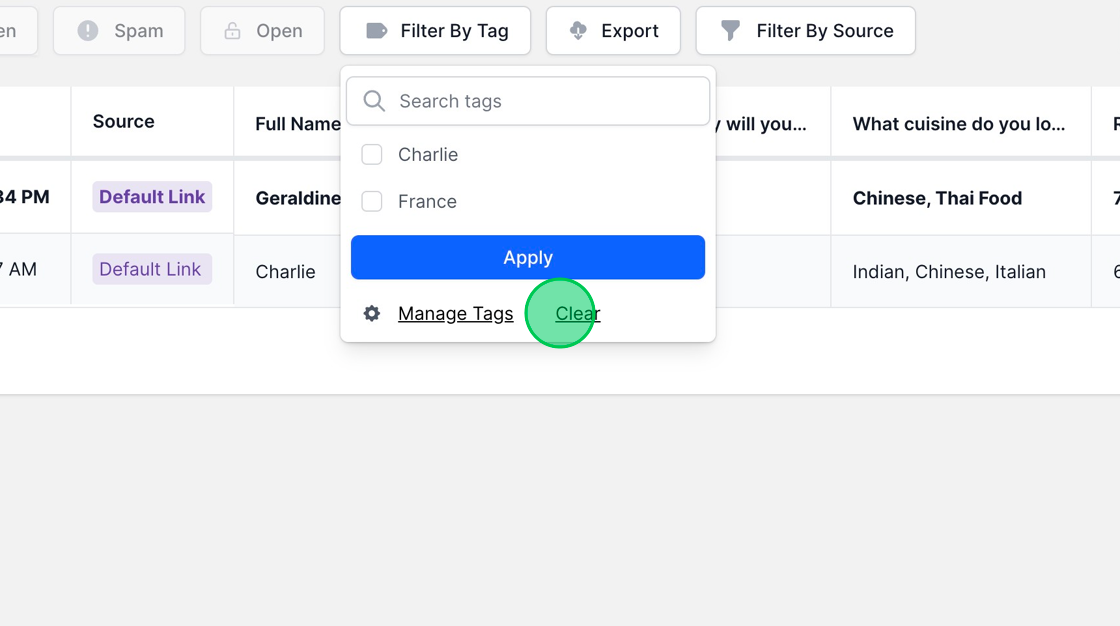
2. To clear the applied filter, click the “Filter By Tag” button, followed by clicking the “Clear” link. This action will remove the active tag filter, reverting the view to display all responses without any tag-based filtering.
Managing Tags
1. By default, any tag you create is confined to a specific form. However, you can designate a tag as “Global” to enable its use across the entire WorkSpace, thus enhancing tag utility across multiple forms. To set a tag as global, click the “Filter By Tag” button, then click “Manage Tags”, and finally select the checkbox under “Global”. This action will promote the tag to a global status, making it accessible across all forms within the WorkSpace.

Filtering Responses by Source
1. MakeForms provides the flexibility to create multiple sources for a single form, which can be advantageous when you want to filter responses based on the links/sources they originated from. This helps in segmenting and analyzing the data more effectively. To filter responses by source, click the “Filter By Source” button located in the top menu, and select the sources from which you want to view responses. This feature enhances the management and analysis of form responses, providing insights into different traffic sources or campaign effectiveness.

Marking Responses as SPAM
1. There may be occasions when you need to mark certain responses as SPAM. To execute this, select all the responses you wish to mark as SPAM, then click the “Spam” button located at the top of the page. This action will categorize the selected responses as SPAM, aiding in maintaining the integrity and relevance of the collected data in your form submissions.

2. To review the responses marked as “SPAM” at a later time, simply click on the dropdown menu labeled “All,” and select the “Spam” option. This action will filter and display all the responses that have been categorized as SPAM, allowing you to review or manage them as needed.
