Setting up auto responders in MakeForms
📄 Download PDF Documentation
1. MakeForms allows you to utilize the auto-responder function to dispatch an email to the individual completing the form.
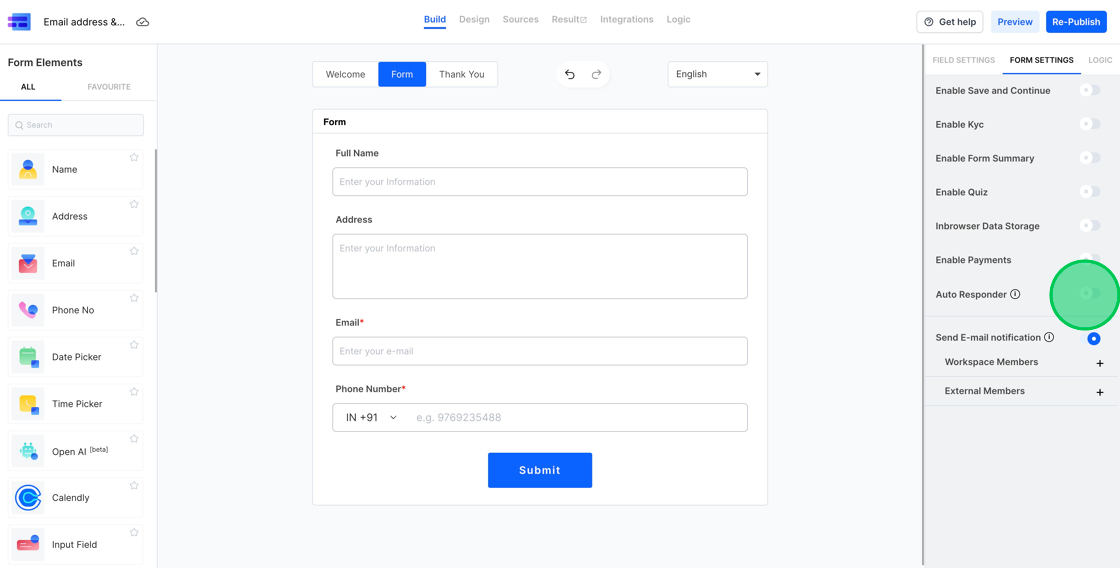
2. To activate this feature, select “Form Settings” on the right sidebar, locate the Auto Responder option, and switch it on.
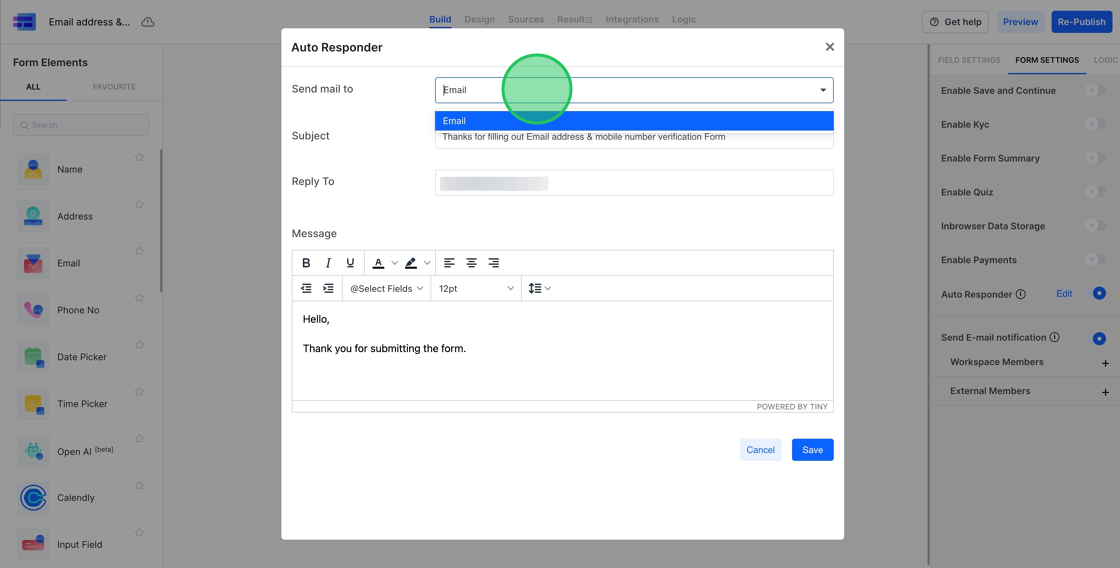
3. Once you enable the “Auto Responder” feature, a dialog box will appear for you to set up the details. The first option you’ll see is “Send mail to”. All the email fields from the form will be displayed in the related dropdown menu. If your form contains multiple email fields, you can select the one you prefer from the list.
4. You have the option to modify the subject line as you see fit. A default subject line is provided, but you can delete it if you wish. To incorporate a field from your form into the subject line, type “@” and then choose the desired field. In this case, if you want to address the individual filling out the form by their name and then add your message, you can do so.

5. You also have the option to alter the “reply-to” email address. Initially, the reply-to address is set to your MakeForms account email. For our demo, we’ll change it to support@makeforms.io.
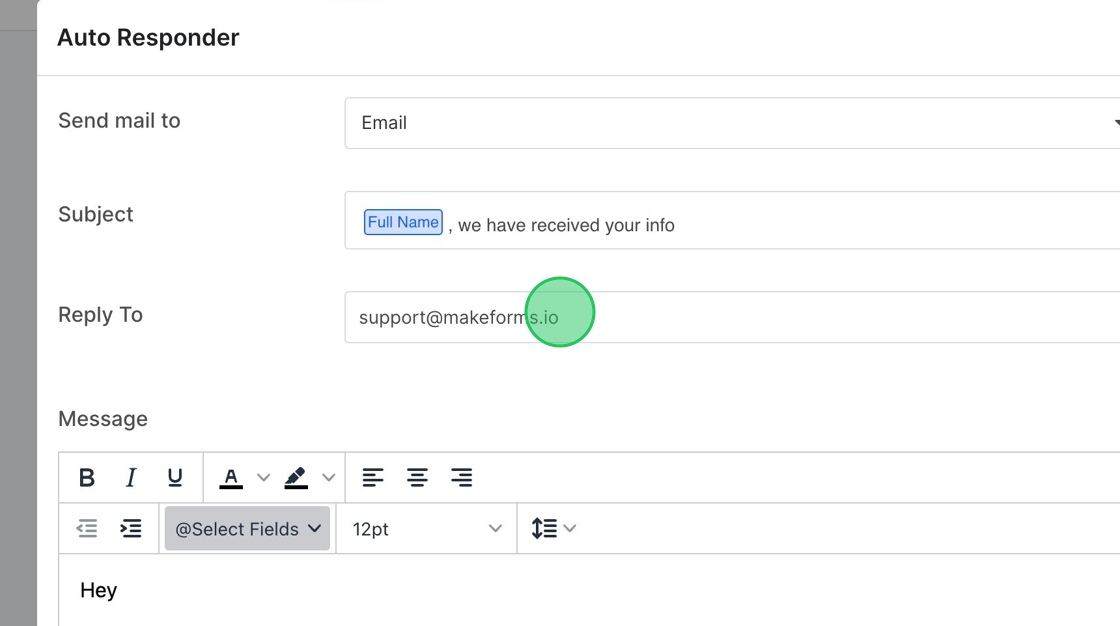
6. Next, you’ll need to modify the message. This message is the main content of the email that gets sent to the individual who fills out the form. To include values from the form fields in your message, you can choose them from the “Select Fields” dropdown menu.

7. You have the ability to style the text using the available formatting tools. For the purposes of our demonstration, we’ll highlight the entire text and adjust the font size from 12pt down to 10pt.

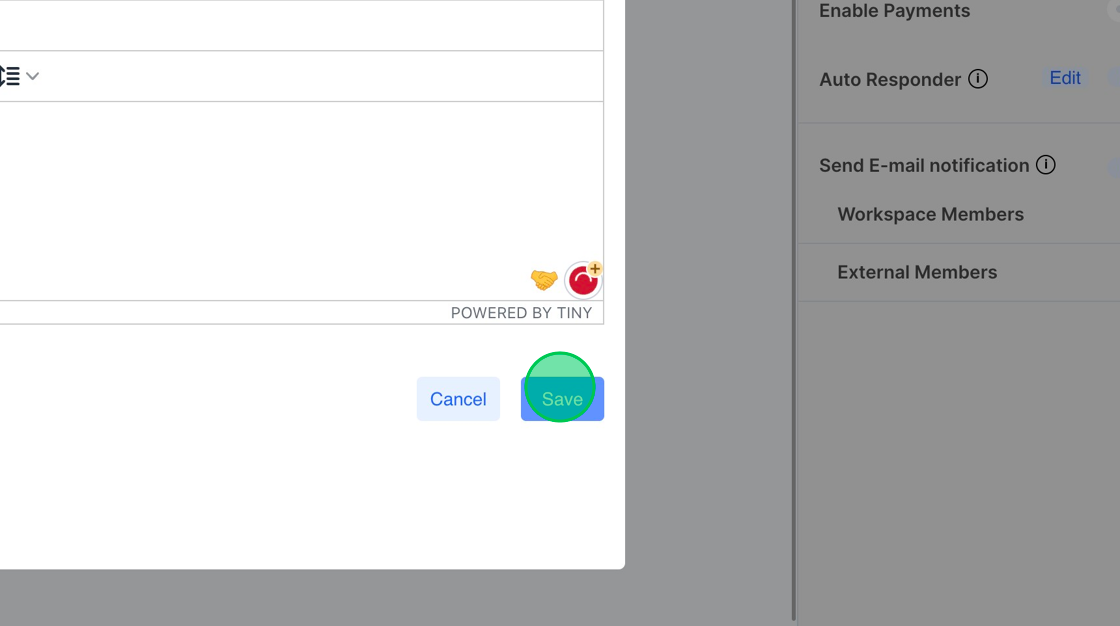
8. Lastly, click the save button. From this point on, every user who completes the form will be sent an email notification containing the content you’ve configured for them.