How to setup custom domains
Video Tutorial
Note : Custom Domains are available only in MakeForms Pro and above plans
MakeForms provides the functionality to configure custom domains for your forms. Initially, when you publish your forms via MakeForms, they are hosted on a white-labeled domain “frms.link”. However, with the custom domain feature, you have the option to publish your forms on your own domain. At the moment, MakeForms supports the creation of subdomains, enabling you to establish a subdomain akin to forms.yourdomain.com. Below is a step-by-step guide on how you can implement this with your MakeForms account:
1. Login to your MakeForms account and switch to the Workspace where you will like to setup your domain name. Domain names are connected to Workspace and not accounts.

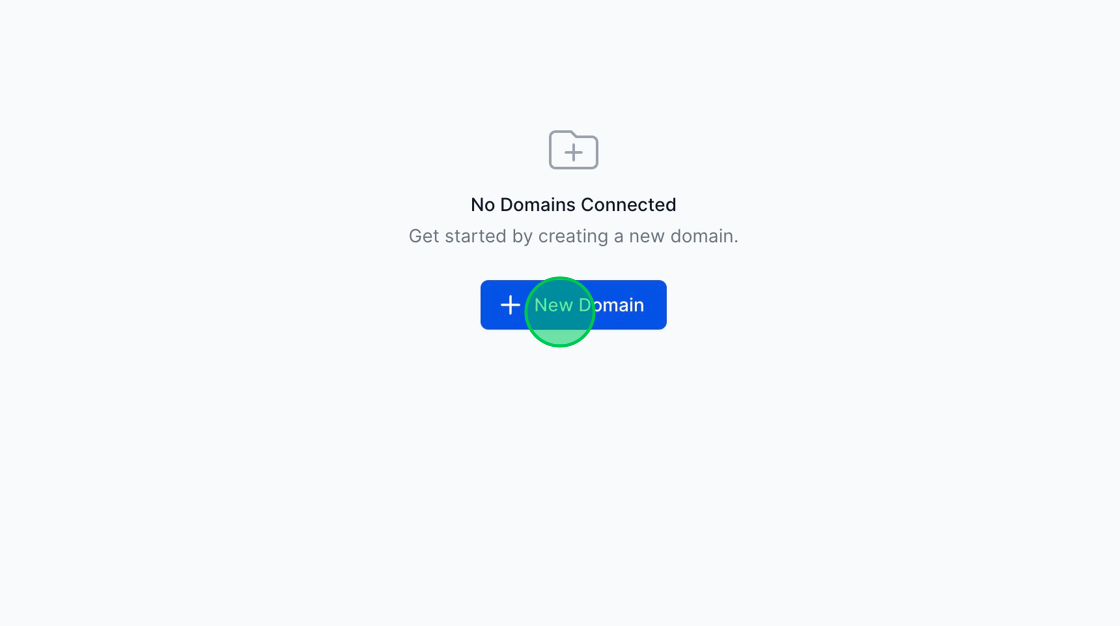
2. Click “New Domain”
3. Enter the subdomain of your choice. In our guide, we will setup collect.make.io as our preferred subdomain and hit the blue “Setup Domain” button. Replace collect.make.io with your preferred subdomain.
 as our preferred subdomain and hit the blue "Setup Domain" button. Replace collect.make.io with your preferred subdomain.](png/ascreenshot98cc.png?tl_px=938,775&br_px=2658,1736&force_format=png&width=1120.0&wat=1&wat_opacity=1&wat_gravity=northwest&wat_url=https://colony-recorder.s3.amazonaws.com/images/watermarks/22C55E_standard.png&wat_pad=524,277)
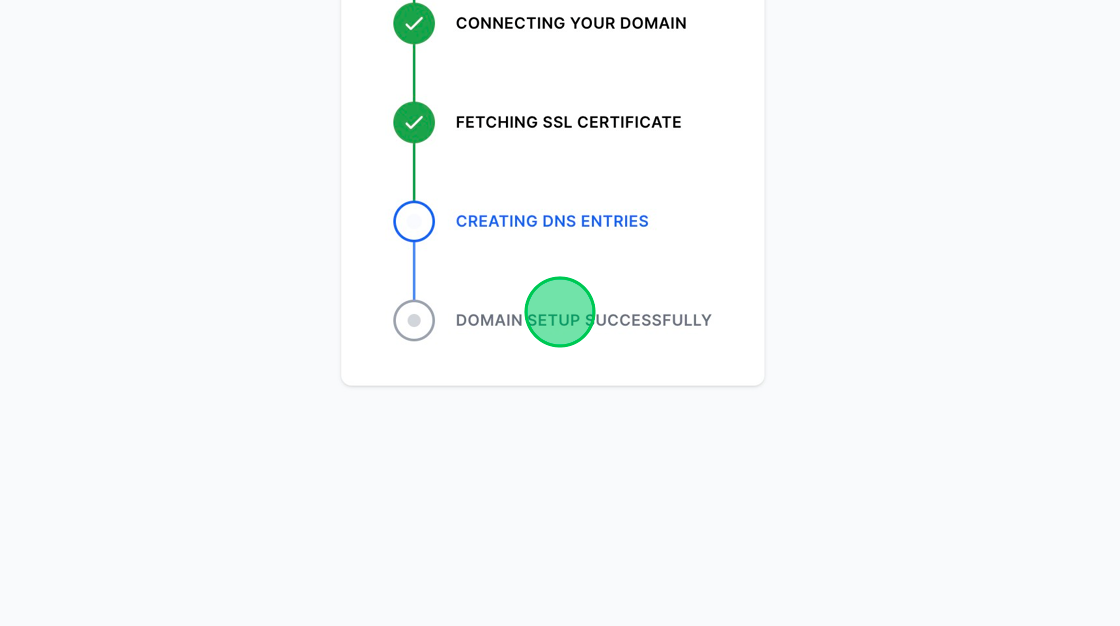
4. The system will setup the subdomain that you have entered.
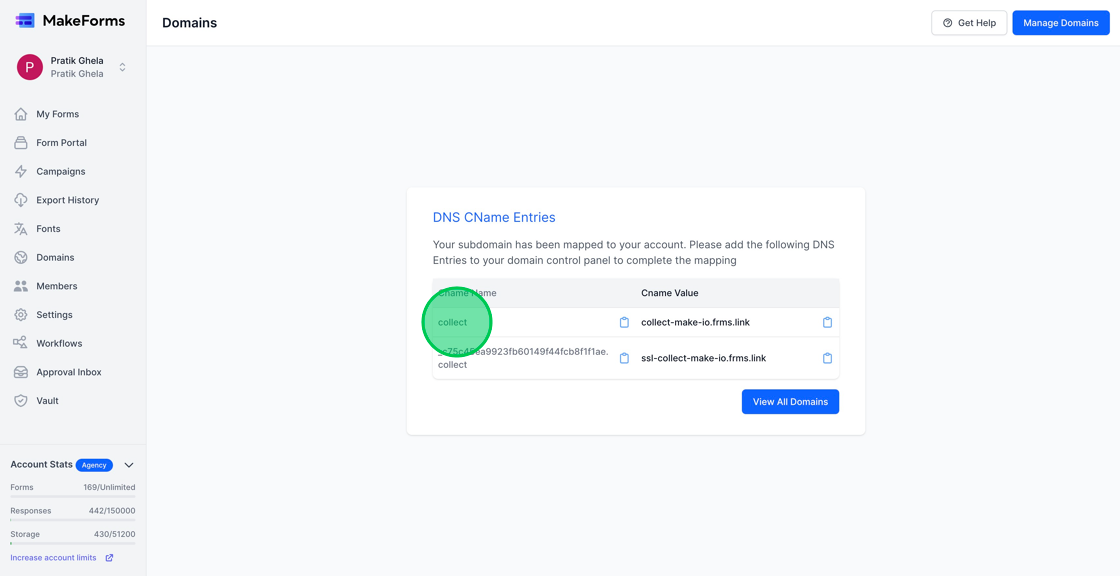
5. Upon successful deployment of the subdomain on MakeForms’ end, you will be presented with the DNS CName entries which you need to set up in your DNS Manager. Here, we will setup the entries using Cloudflare. Now, we will hit the blue “View All Domains” button which will list all the domains setup for a particular Workspace.
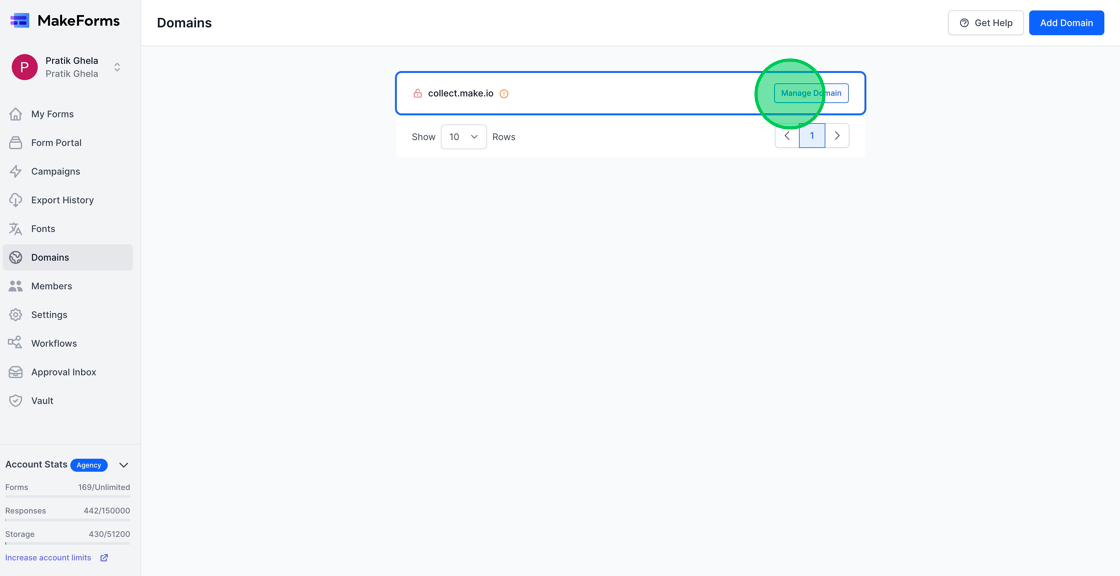
6. Since the domain name is setup and the DNS entries are not done, we will see the red lock open icon. We will now click on Manage Domain and get the DNS entries.
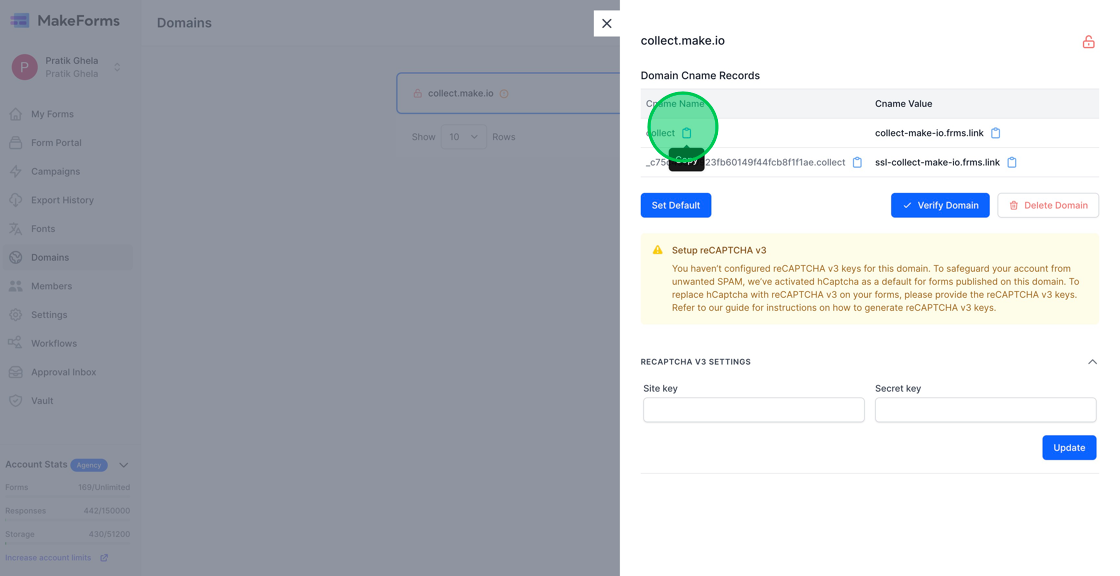
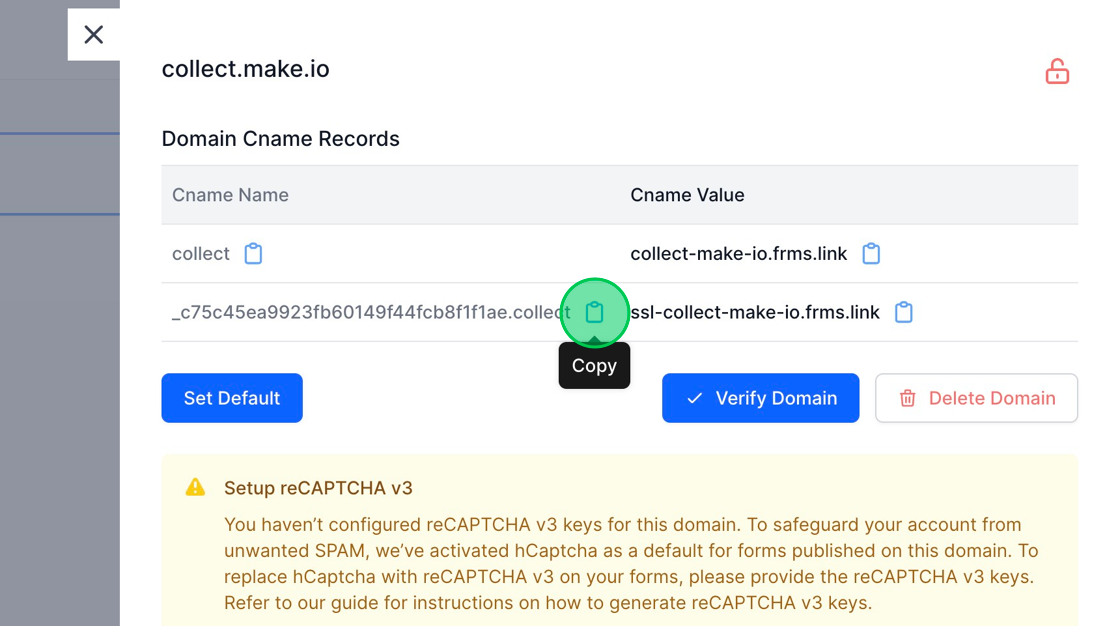
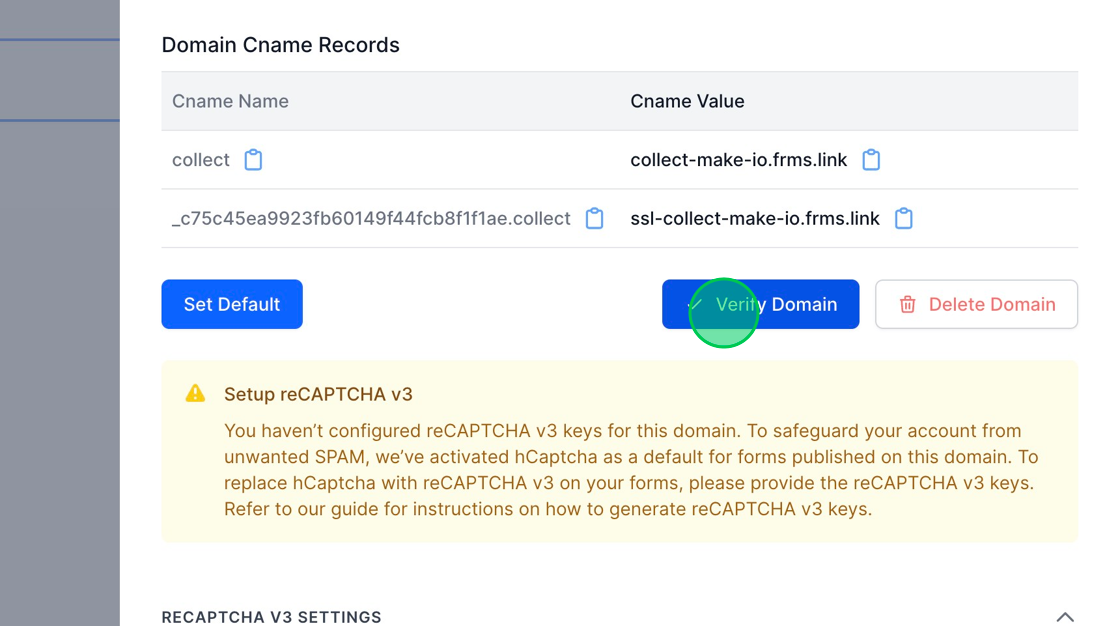
7. As soon as you click the Manage Domain, you will be presented with the Domain Cname Records. We will now copy paste these values into our cloudflare DNS manager.
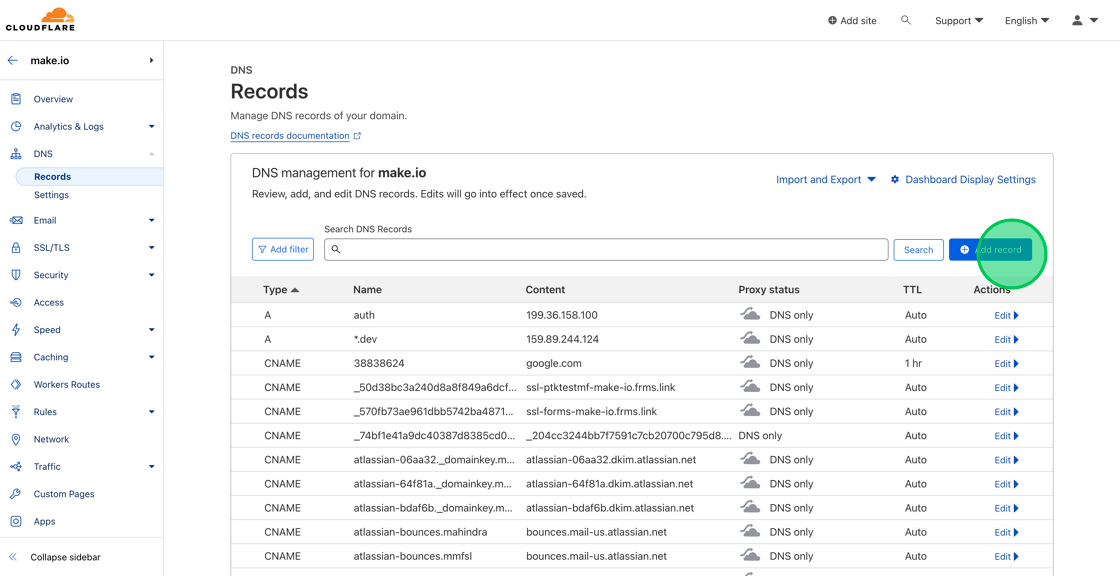
8. Go to your Cloudflare account and select the domain DNS Records. Once you are at the DNS Records page, click the Blue “Add record” button.
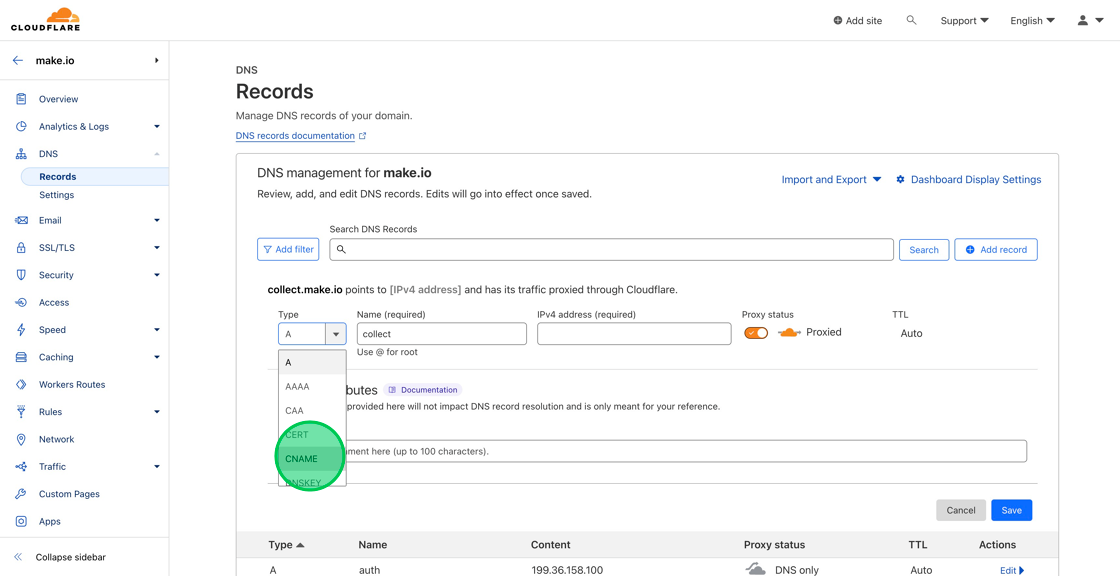
9. Change the Type from “A” to “CNAME” and enter the Name that we just copied from MakeForms into the Name field
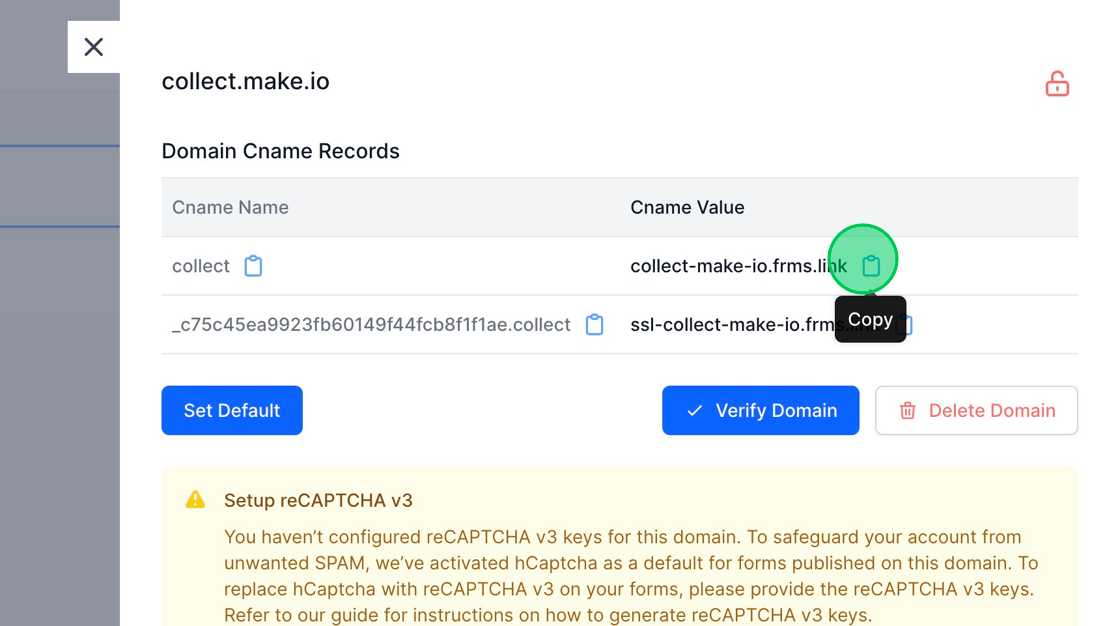
10. Now go back to your MakeForms tab and copy the CName Value.
11. In the target, paste the CNAME value that we just copied from our MakeForms tab
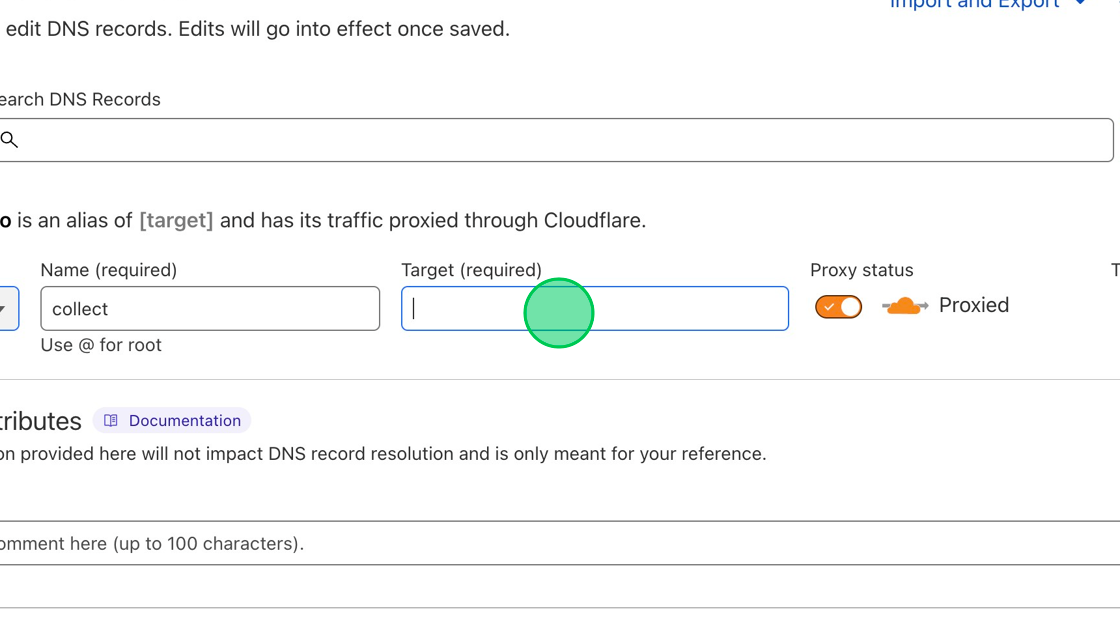
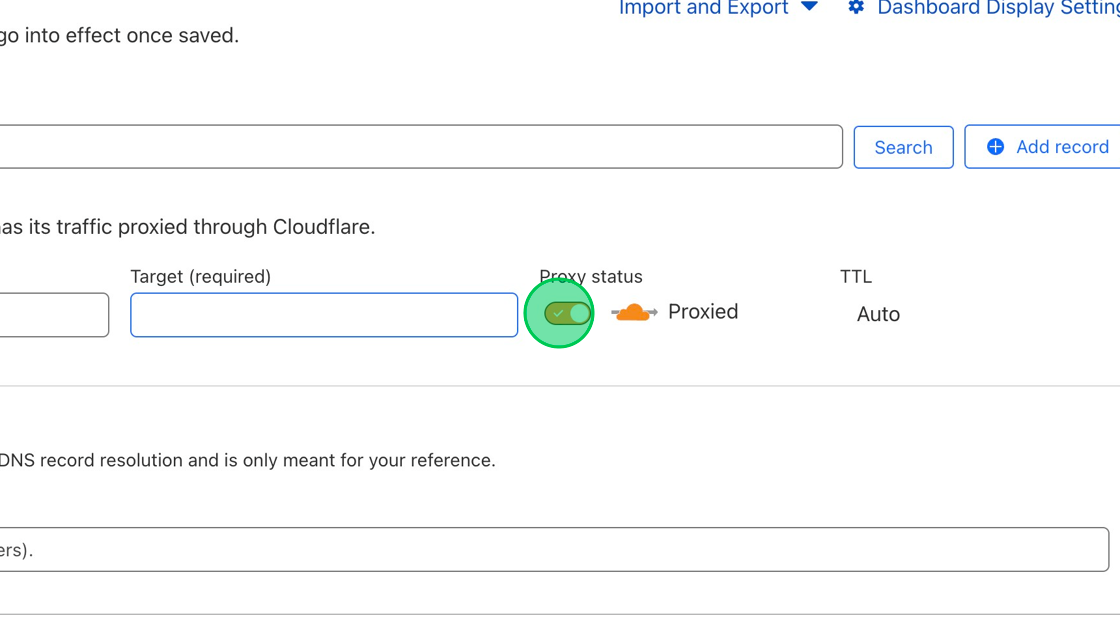
12. Remember to turn off the proxy. This is the most important step.
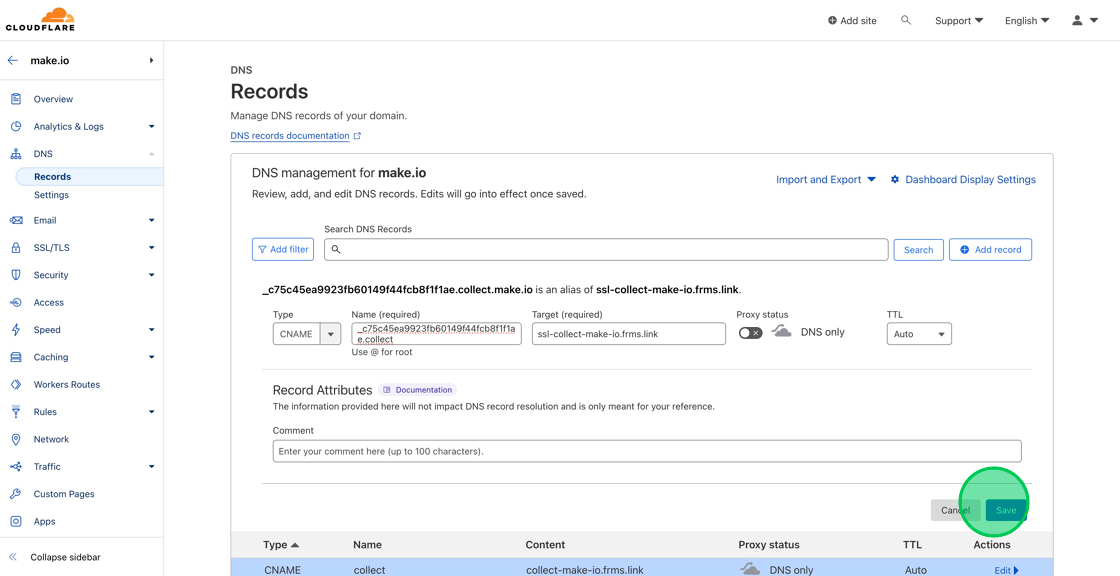
13. Now, in your Cloudflare account, hit the blue Save button.

14. Similarly copy the values for second CName record
15. Now paste the values for second CName record, turn off the proxy and hit save.
16. After you’ve added the 2 CNAME records, wait for about 3-4 hours. Come back to your Domains Tab, hit the Manage Domain button and click the blue “Verify Domain” button.
17. Once the DNS records propagate and your SSL is issued, you will see a green “lock” icon. This indicates that your domain is successfully set up.
