Setting up Custom Fonts in MakeForms
Video Tutorial
Note : Custom Fonts are available only in MakeForms Pro and above plans
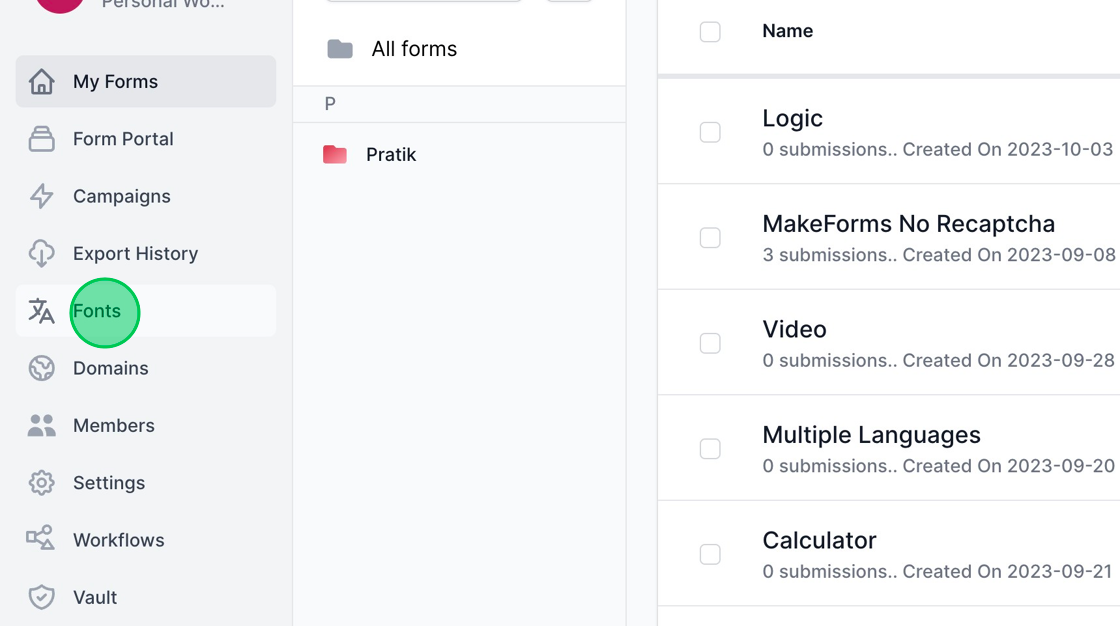
1. MakeForms provides the ability to configure custom fonts, aiding in aligning your form’s appearance with your brand aesthetics. To commence, click on the “Fonts” menu located in the left sidebar.
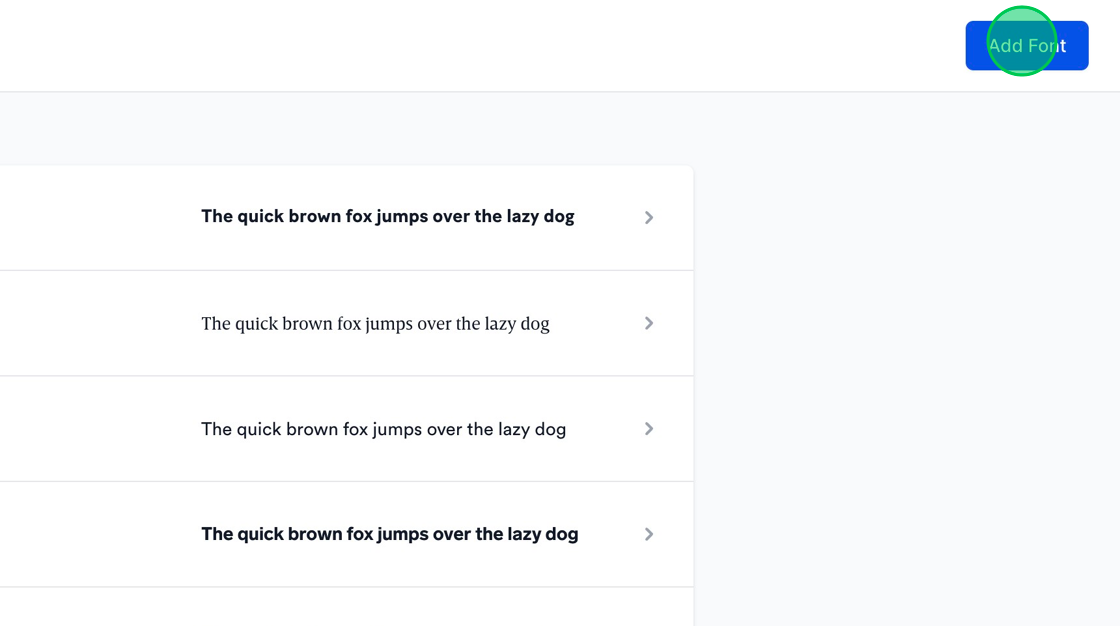
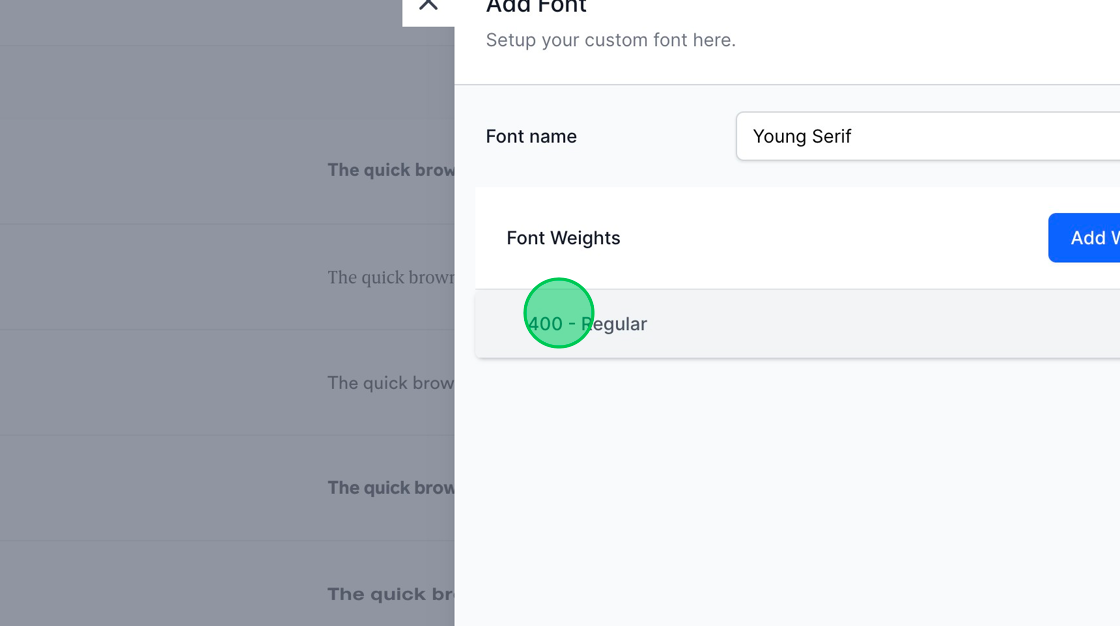
2. Now, click the blue “Add Font” button located on the top right corner of the screen. For demonstration purposes, we will be using the “Young Serif” font.
3. Now, input the name of the font. By default, the system will create a “Regular” variant of the font. If you wish to include multiple weights of the font, click the blue “Add Weight” button to add them accordingly.
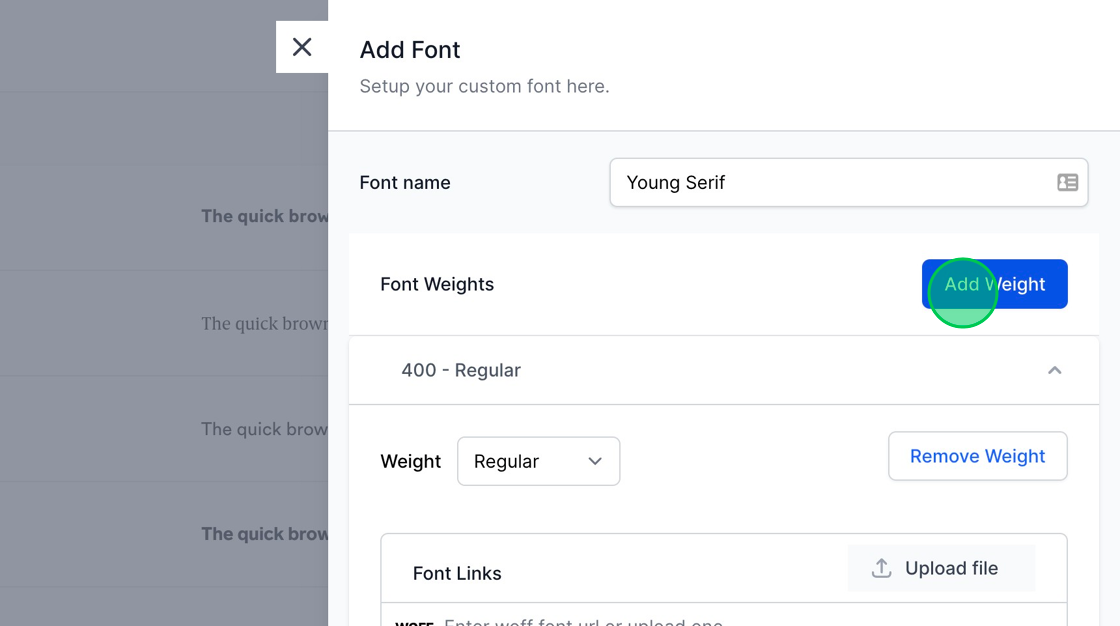
4. You have the option to remove any specified weight by clicking the “Remove Weight” button associated with that particular weight.
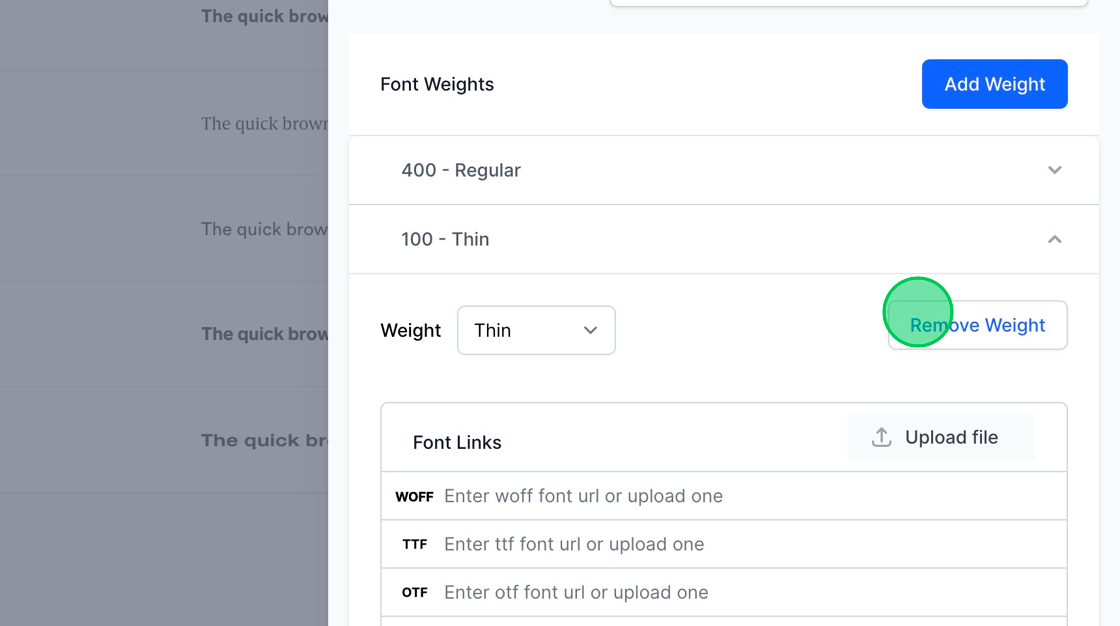
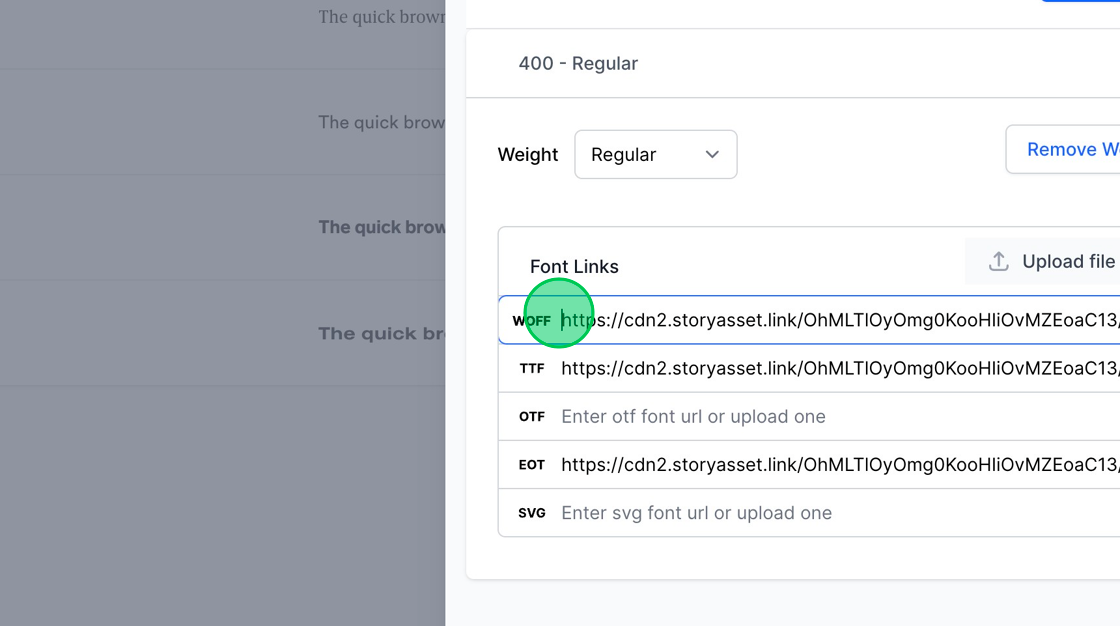
5. To edit a particular weight, simply click on the weight, and an accordion will expand, providing you with the settings and options to make the desired modifications.
6. To configure a specific font weight, upload the font file corresponding to that weight. MakeForms accommodates a variety of font file formats including woff, ttf, otf, eot, and svg.
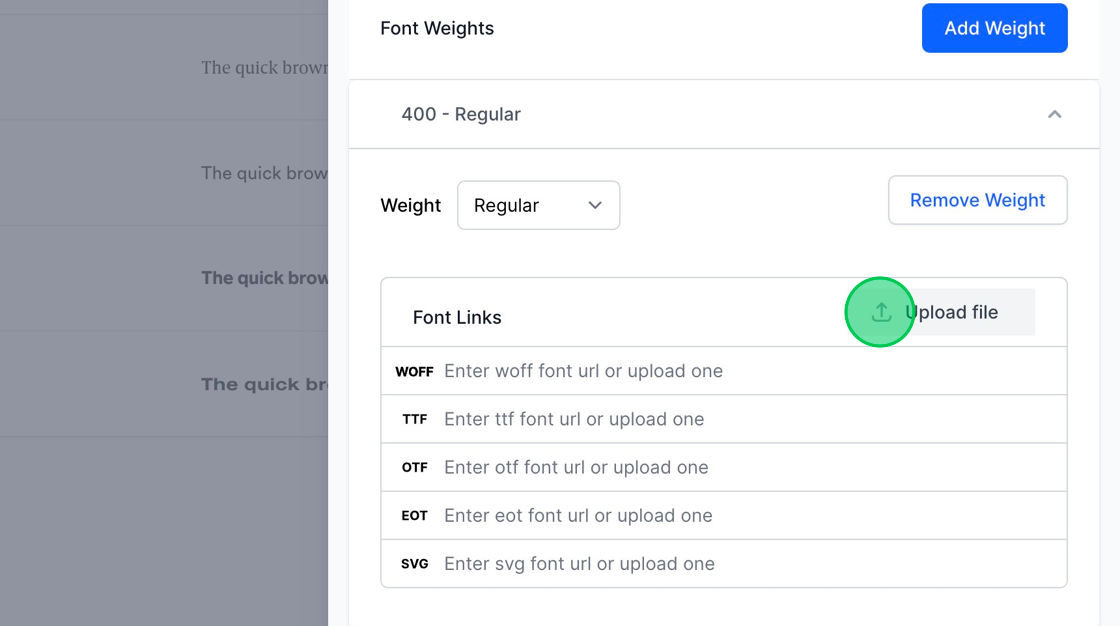
7. Simply click the “Upload file” button and select the desired font file from your device. The system will autonomously discern the file type and populate the URL field with the appropriate font type link.
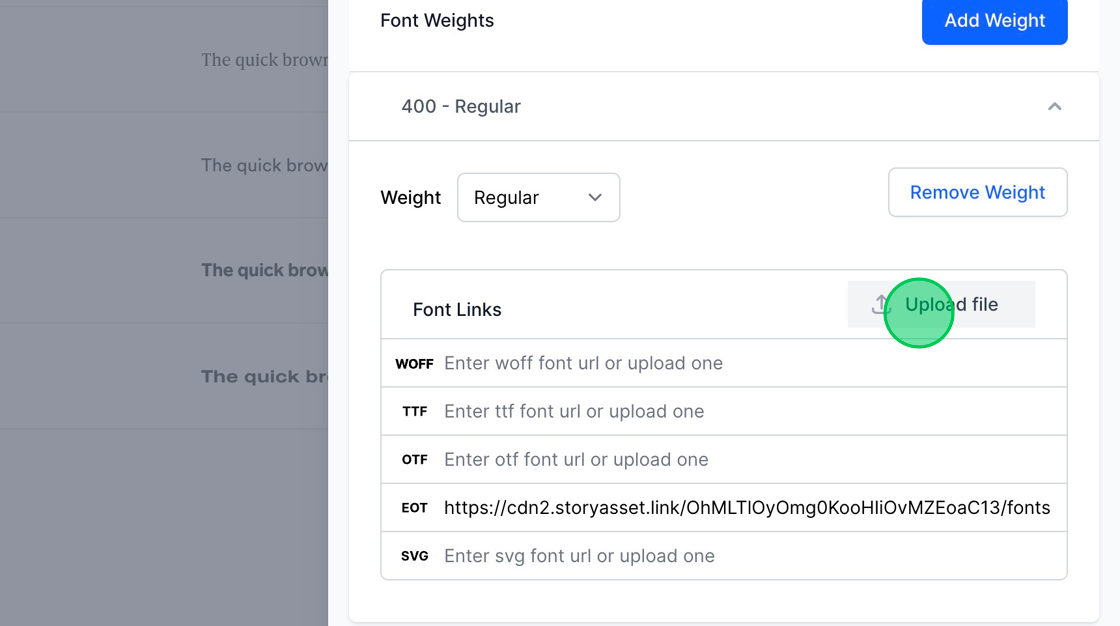
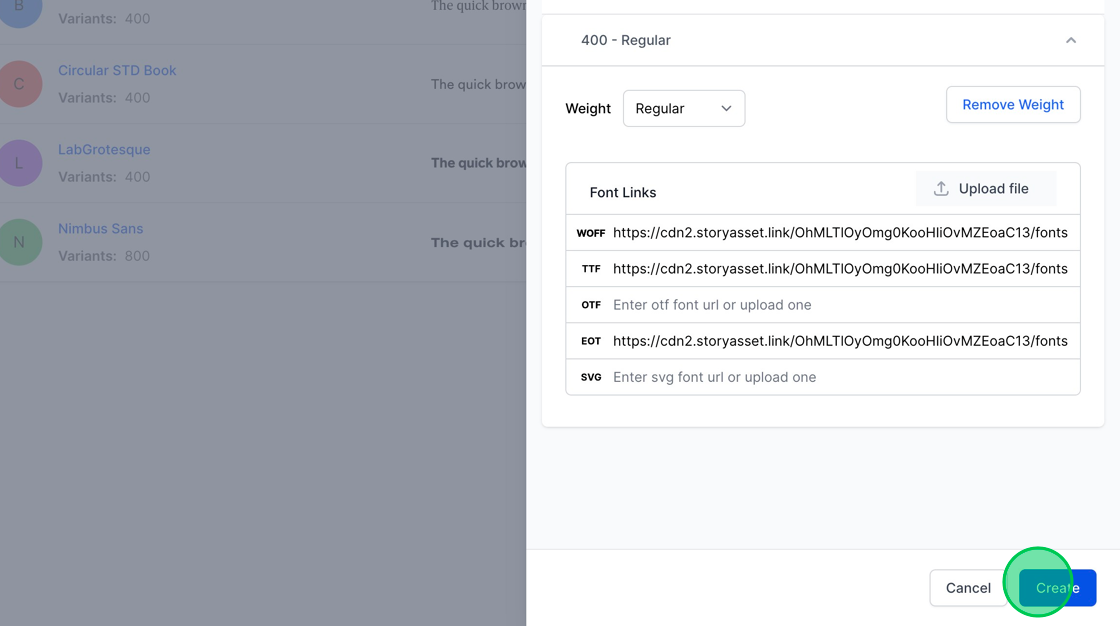
8. In this demonstration, we have uploaded the .woff, .ttf, and .eot versions of the font files to ensure a wide range of compatibility across different browsers and platforms.
9. After uploading all the necessary files, simply click the blue “Create” button located at the bottom right corner to finalize the addition of your custom font to the WorkSpace.
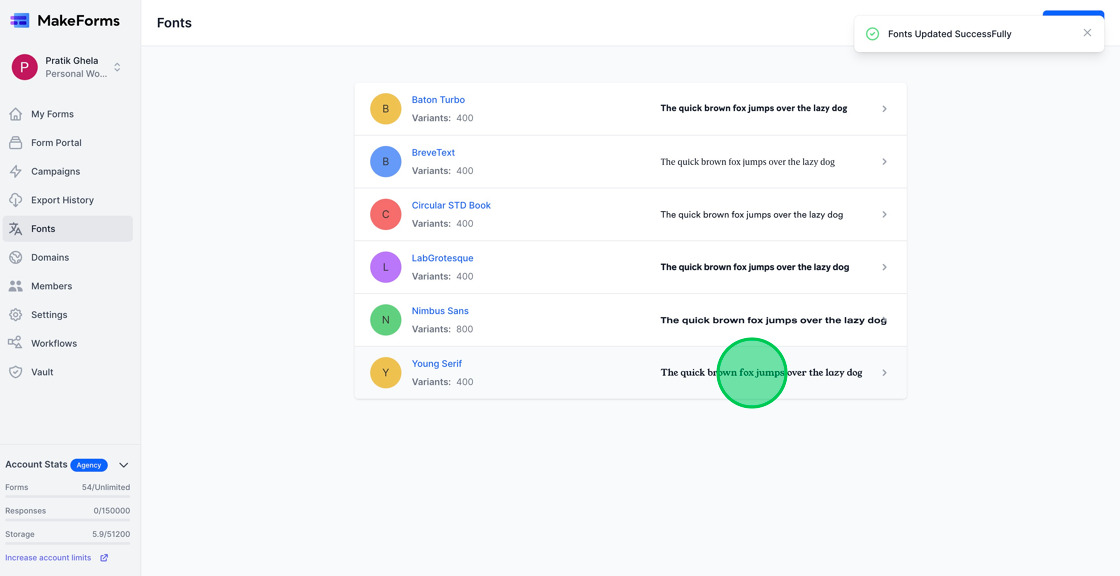
10. You can now observe that the Young Serif font has been successfully configured and is available in your MakeForms account, ready for use in your forms to maintain brand consistency.
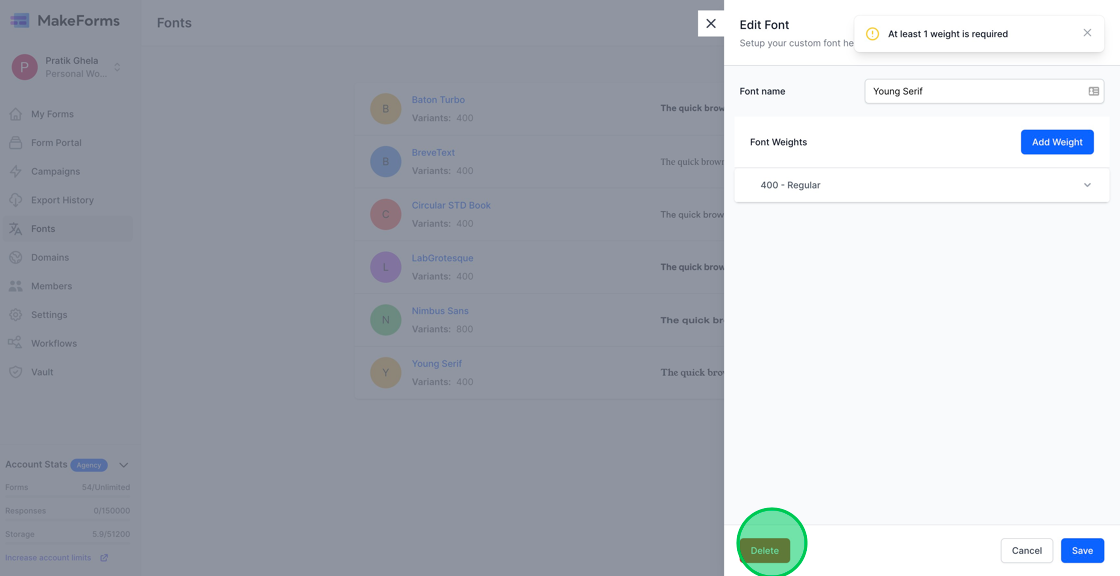
11. To delete a font, navigate to and open the font settings, then click the red “Delete” button to remove the font from your account.
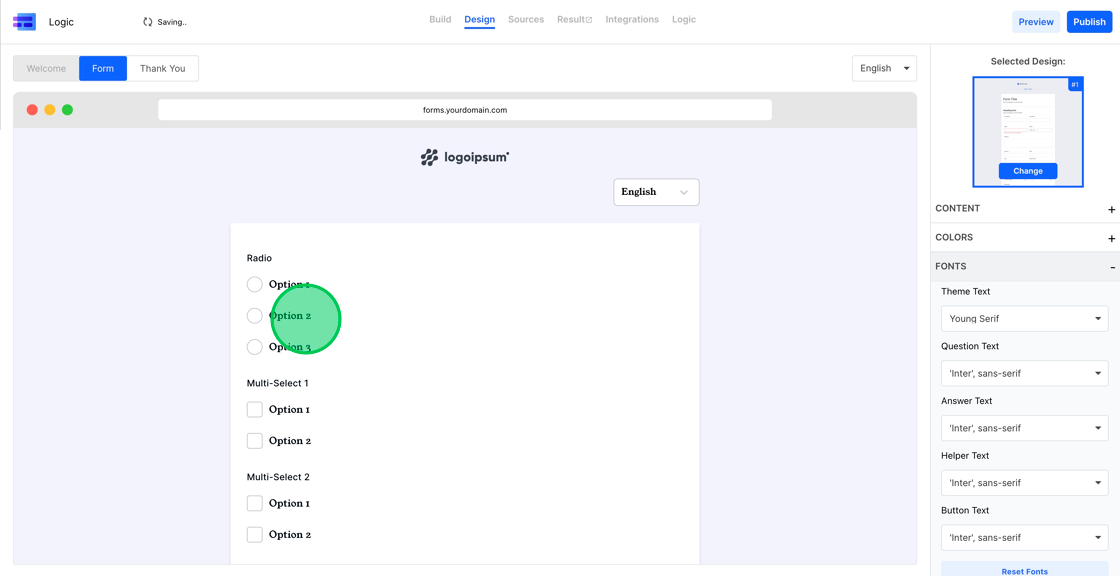
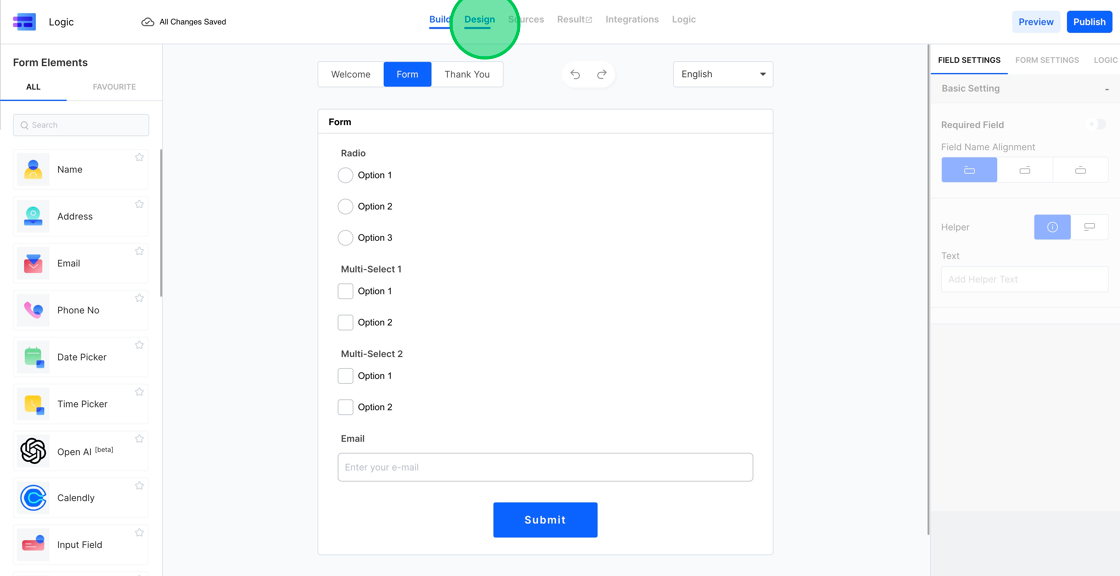
12. Now, to verify the successful setup of your fonts and to utilize them, open the form you wish to customize and navigate to the “Design” tab. In this section, you can apply your newly added fonts to various elements of your form to align its aesthetics with your branding.
13. Click on the “Fonts” tab located in the right sidebar, and select the font that you recently set up. In this scenario, you’ll select “Young Serif” from the available options to apply it to your form.
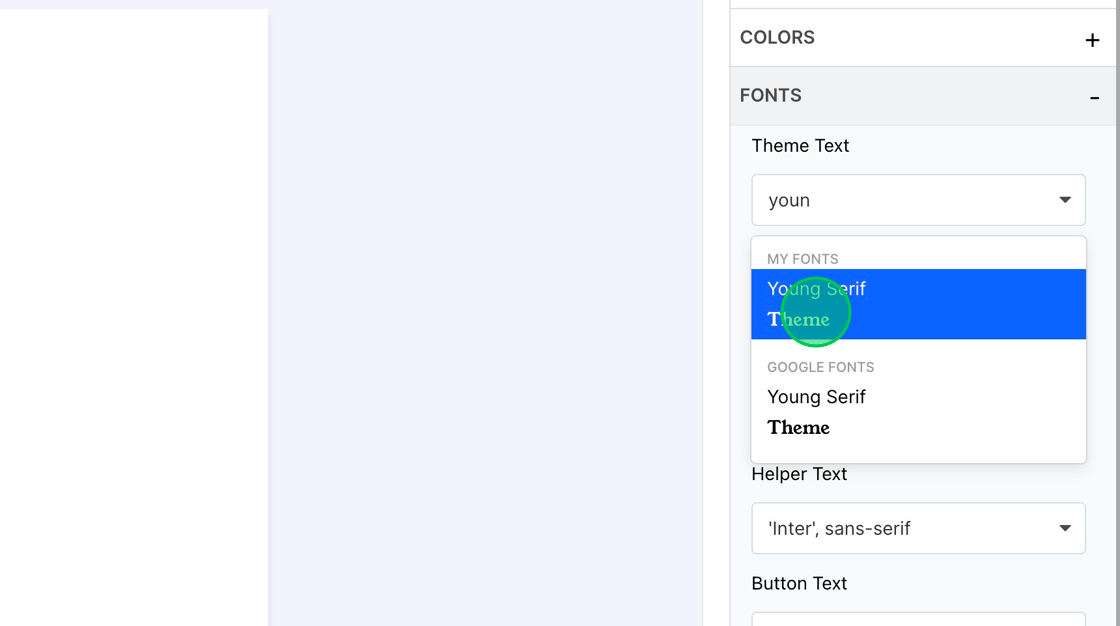
14. You can now observe that the font family you selected, in this case “Young Serif”, has been successfully applied to your form, thus aligning its visual appearance with your brand’s style.