Creating & Switching WorkSpaces in MakeForms
Video Tutorial
Notice – WorkSpaces are available only for Agency and Enterprise users
The MakeForms Agency plan extends the capability to create up to three WorkSpaces, which are instrumental in segregating data among different accounts. As implied by the name “Agency Plan”, this setup allows for the creation of multiple WorkSpaces, each with its distinct members. This feature is especially beneficial when working with multiple clients, as it ensures a clear delineation and organization of data, members, and projects per client.
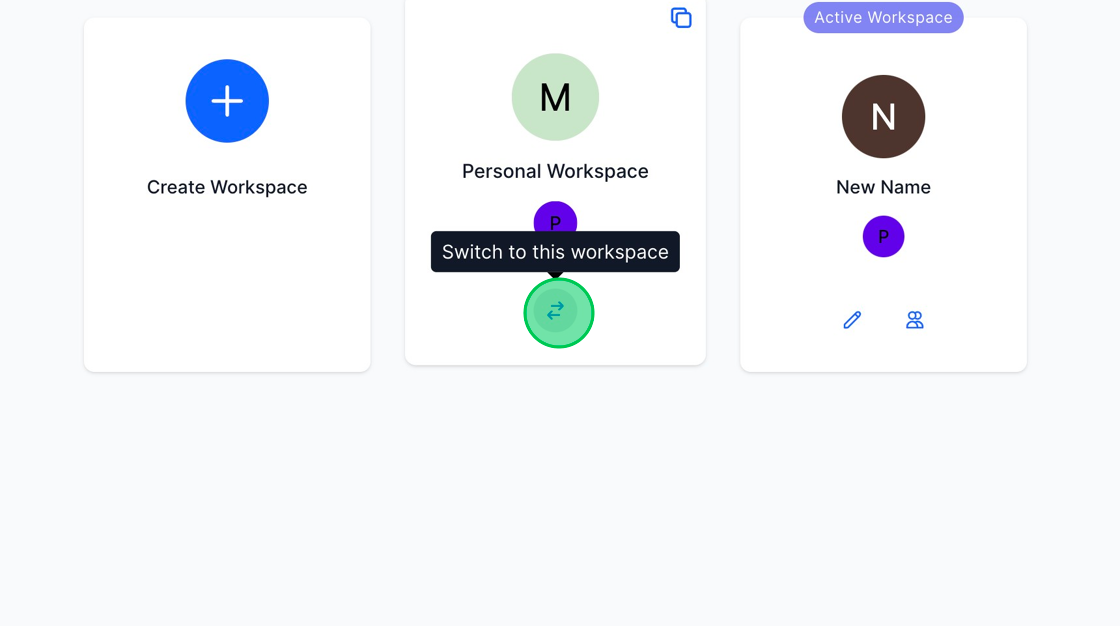
1. In your MakeForms account, the initial WorkSpace you’ll see is labeled “Personal WorkSpace”. To change or create a new WorkSpace, select the dropdown menu located beneath the MakeForms logo on the left sidebar, and then choose the “Switch WorkSpace” option.

2. Initially, your “Personal Workspace” will be set as the “Active WorkSpace”. To establish a new WorkSpace, select the “Create WorkSpace” button. A pop-up window will appear prompting you for the WorkSpace name. Input your preferred name and press the green “Create” button.

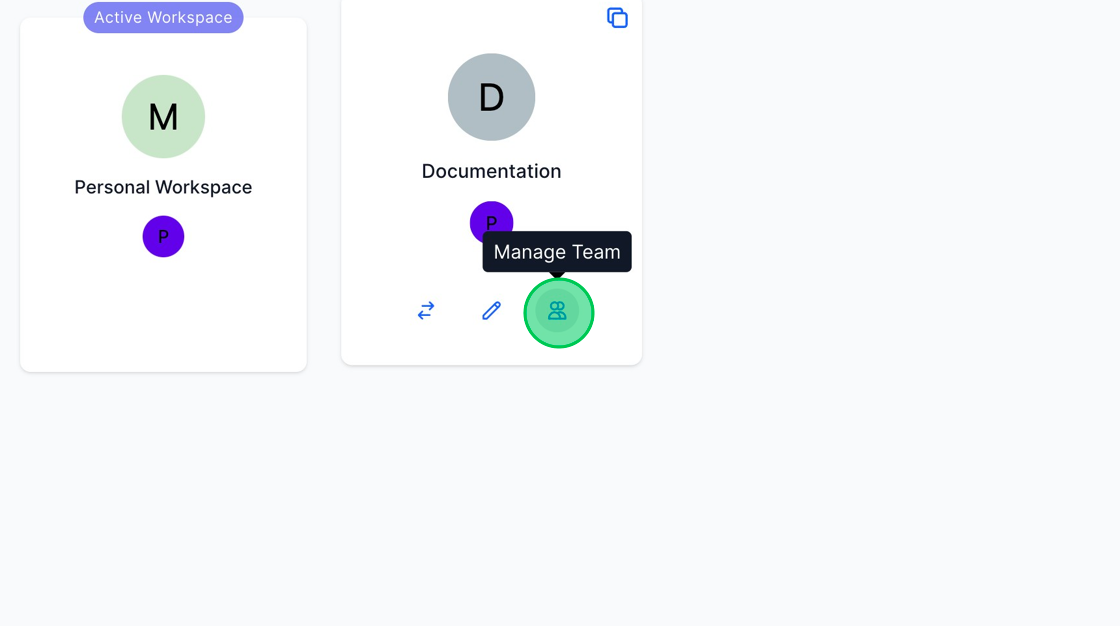
3. We’ve successfully established a WorkSpace named “Documentation”. To begin adding members to this new WorkSpace, click on the “Manage Team” icon. Comprehensive guidelines on member management and access control can be found at https://makeforms.io/docs/managing-members-and-access-control-lists-acls/
4. To change the name of your WorkSpace, click the “edit” icon. Input the desired name for your WorkSpace and click the “Update” button.

5. To switch the WorkSpace, click the switch icon.