Creating Our First Form
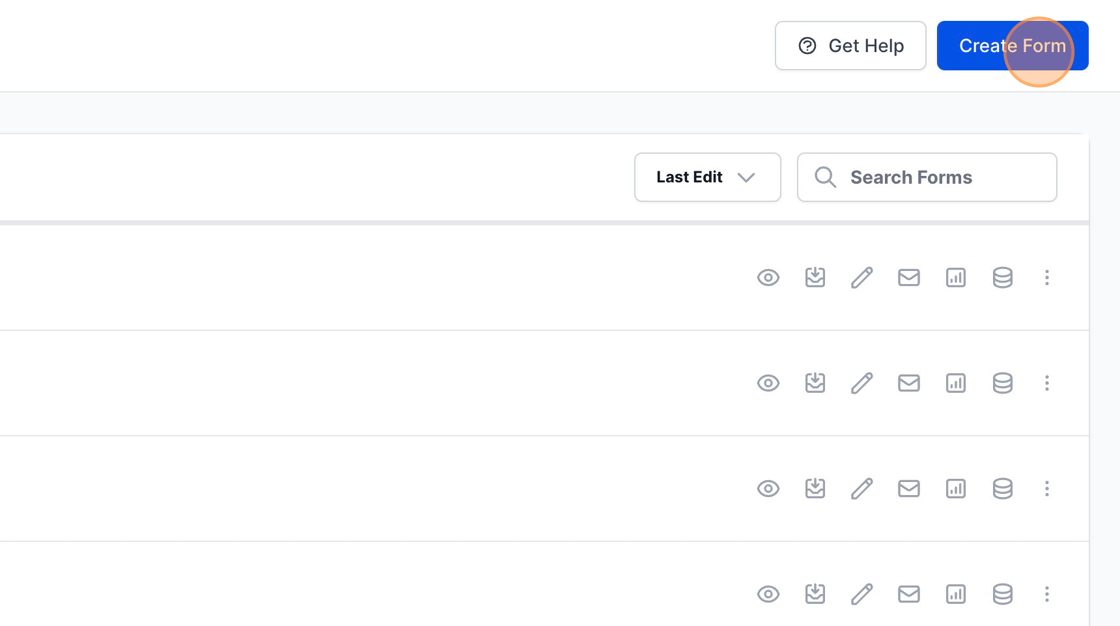
1. Access your MakeForms account and select the “Create Form” option.
2. You will be presented with a modal. Within this modal, choose the “Start from scratch” option. Alternatively, in the future, you can opt for one of our ready-to-use templates or even allow the AI to craft the form.

3. By default, MakeForms includes a header element featuring the form’s name. If you prefer, you have the option to remove this header.

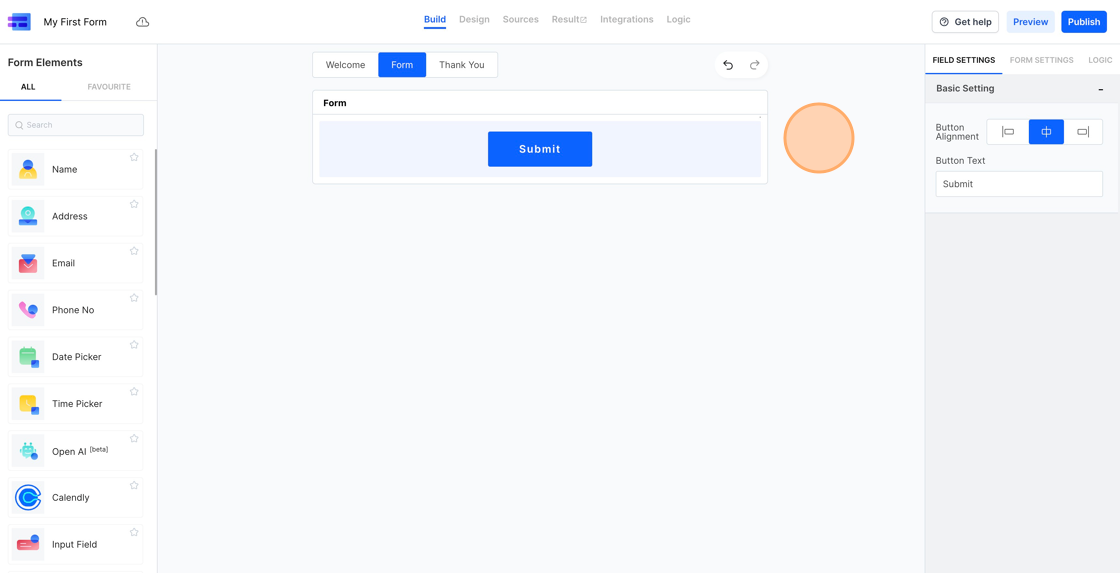
4. The MakeForms Form Builder is organized into three main sections: the left sidebar, the center canvas, and the right sidebar. The left sidebar contains all the form fields available.
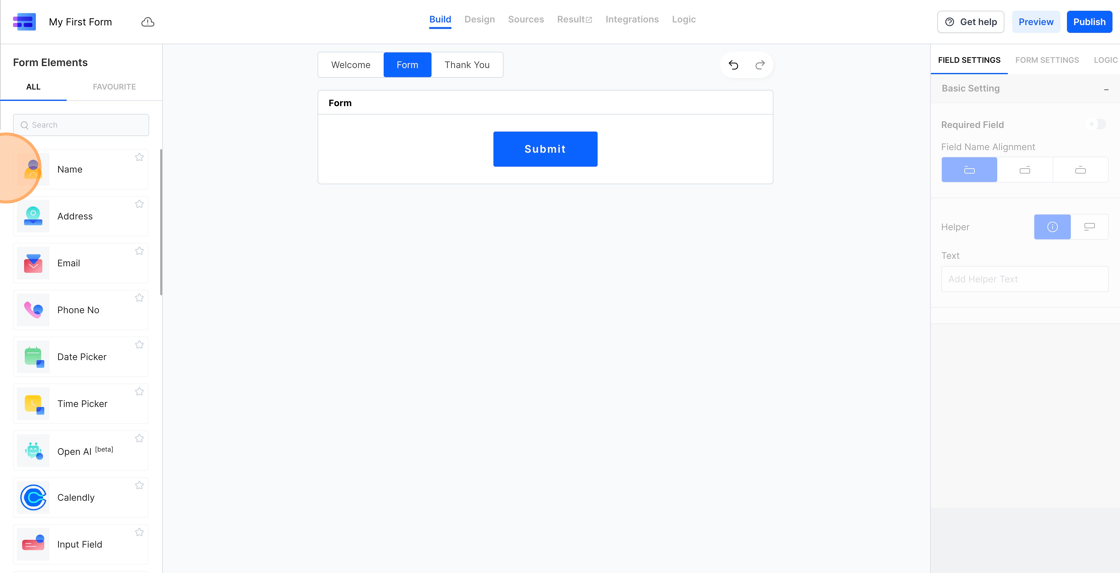
5. The central canvas space will showcase all the form fields you intend to include in a form.
6. The right-hand sidebar is the location for managing form settings, adjusting field settings, and incorporating logic into your forms.

7. Let’s make our first form by adding a few fields to it.
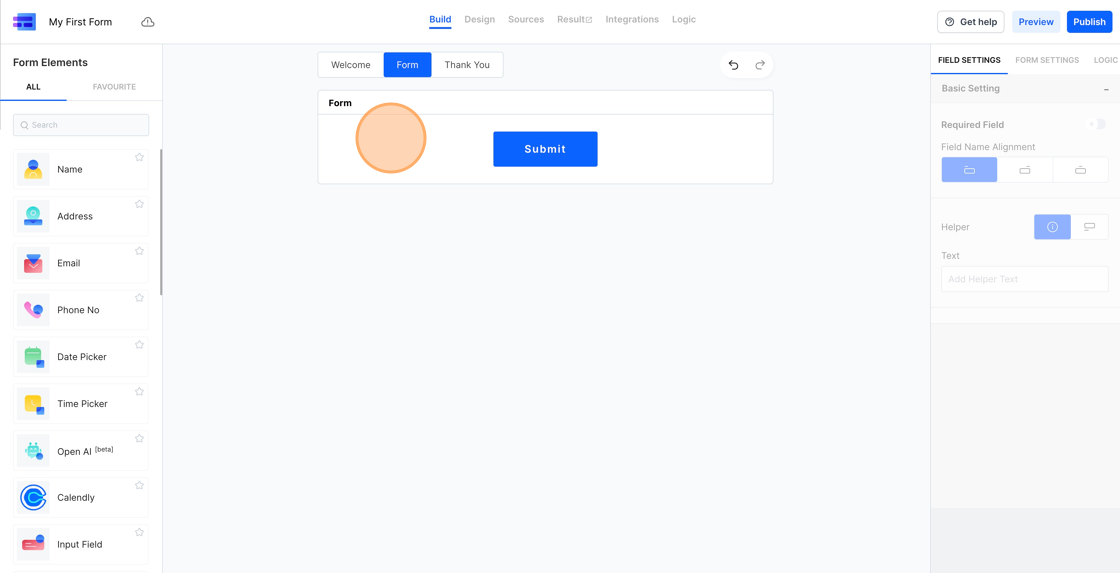
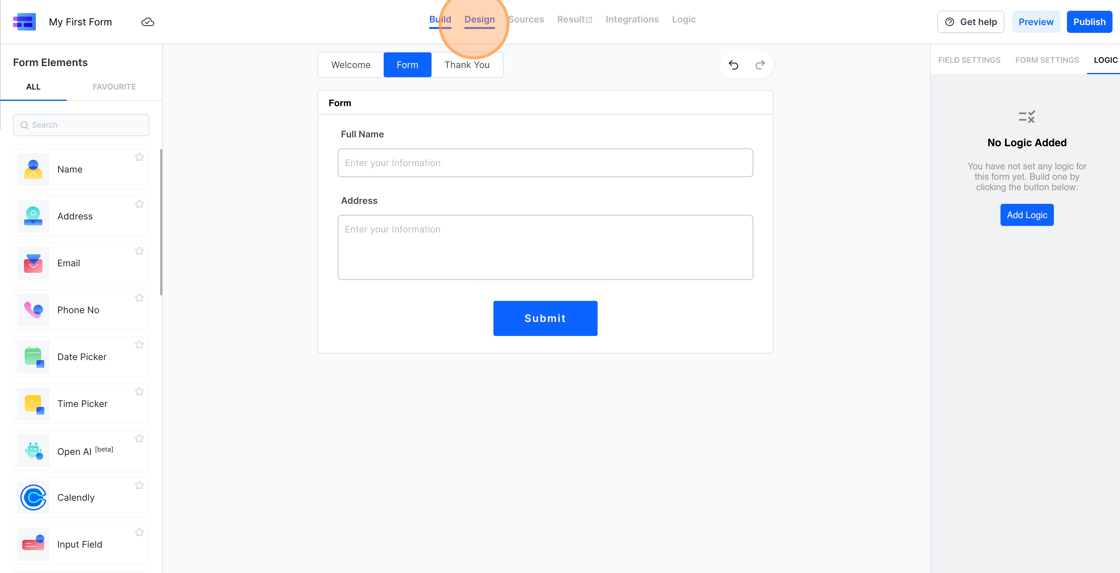
8. To add a field on the form, simply click on the element or drag and drop it. For this form, I’ll add the Name and Address fields.

9. Once we’ve added and set up all the fields, let’s tweak the form’s appearance in design mode.
10. Every form starts with the basic design template. To change it, just click the “Change” button on the right side.
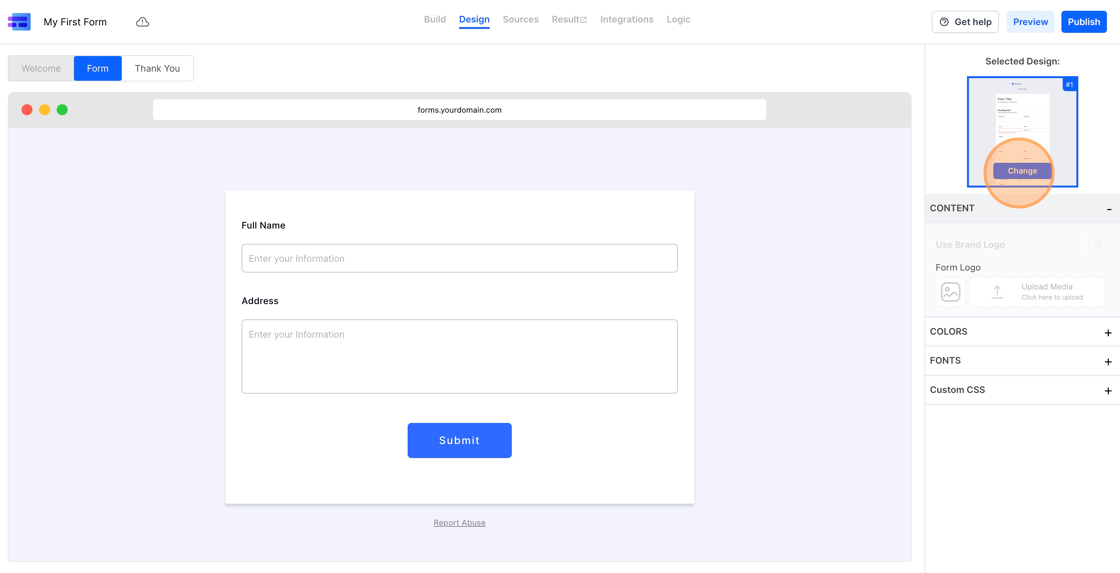
11. There are many templates to pick from. Choose the one you like and click the “Apply this Design” button.

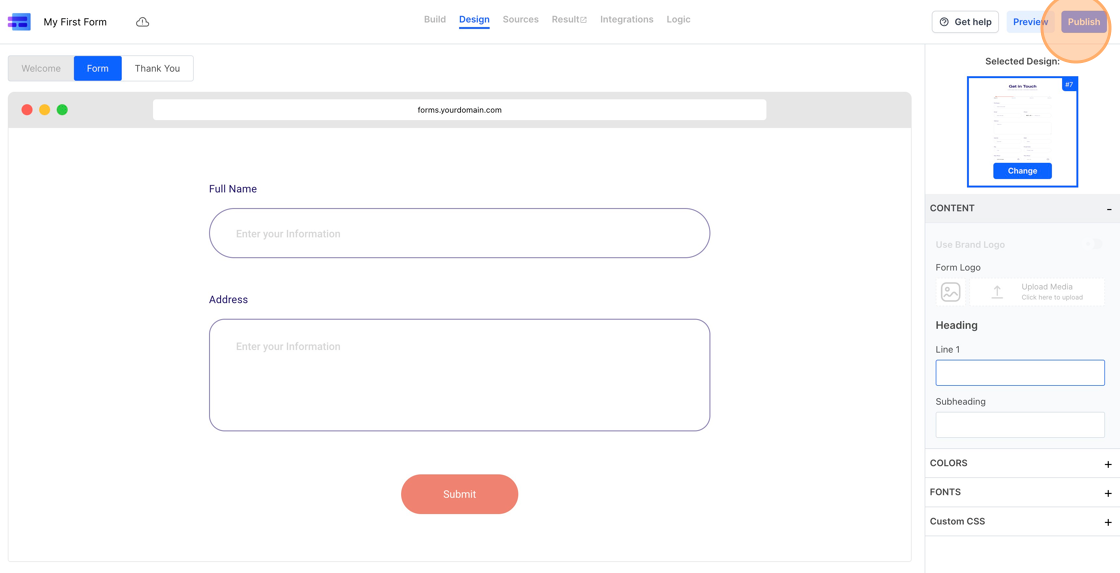
12. Each form has its own elements you can tailor. With the template we chose, you can modify the heading and paragraph text using the right sidebar. I want only the form fields to show, so I’ll remove the text in the settings.

13. Our form is set to gather information. Remember, it’ll only begin collecting responses when you publish it. To publish, simply click the blue “Publish” button at the top right.
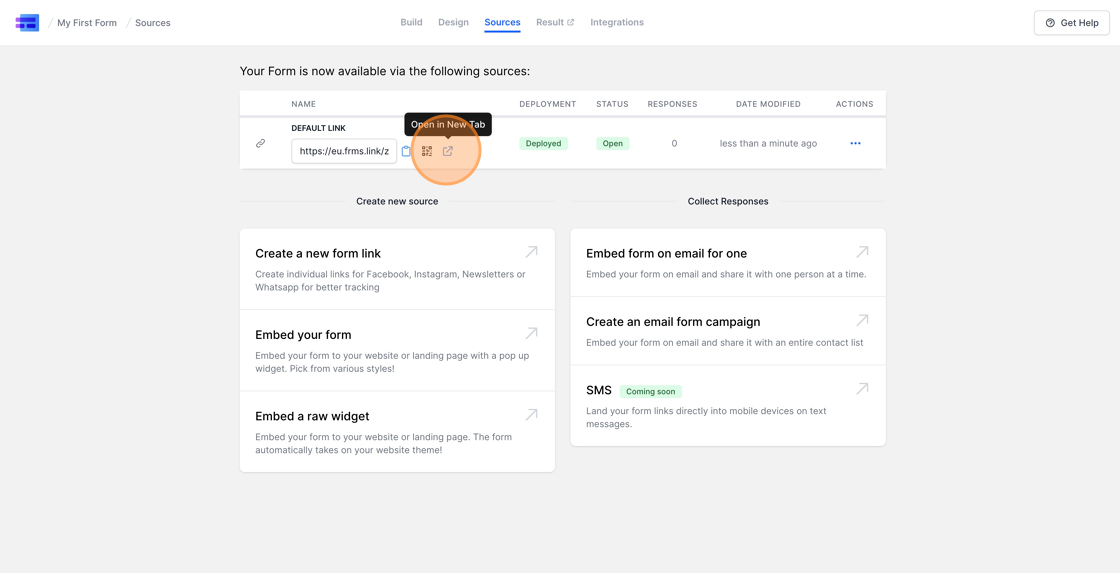
14. After successfully publishing the form, MakeForms will take you to the Sources page. To see our published form, just click on the form link.