Accepting File Uploads in MakeForms
1. To add a “File Upload” field to your form, start by searching for the “file” element in the Form Elements. Then, simply click and drag-drop the “File Upload” field onto the canvas.

2. You now have the “File Upload” field on the canvas. To change its title from “File Upload” to “Upload your documents,” simply click on the title and type in your desired text.
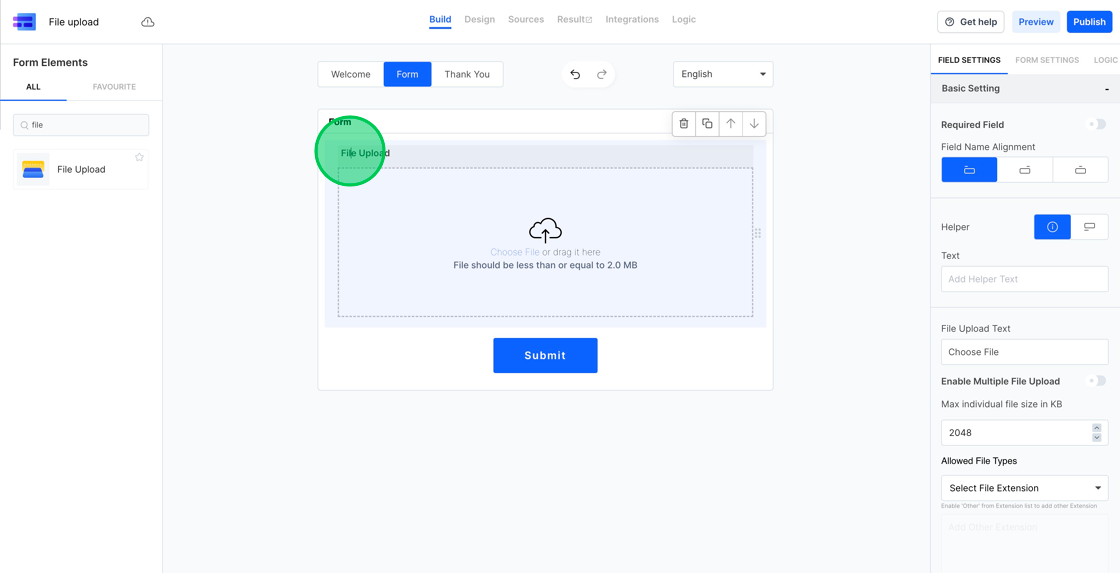
3. You’ll find all the settings related to file upload in the right sidebar. The first option is the helper text, which provides additional information about a field. Helper text can be displayed in a tooltip or below the field. Let’s change the helper text to “Upload files here” and toggle the helper text setting.

4. By default, file uploads are configured to accept one file at a time. If you want to allow users to upload multiple files, simply enable the “Enable Multiple File Upload” option.
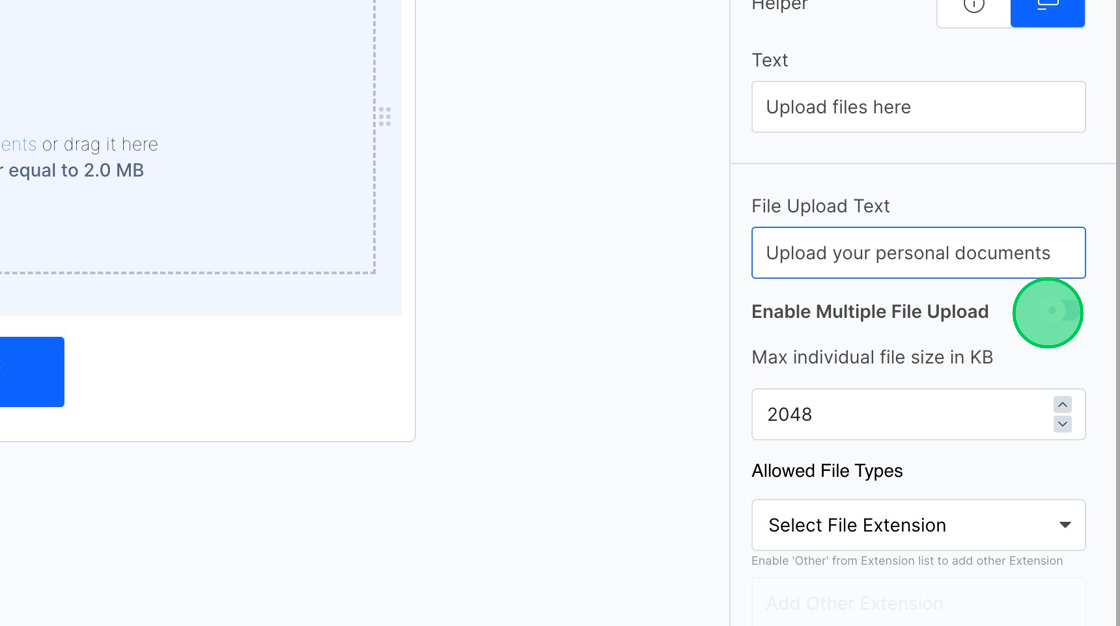
5. MakeForms typically sets the maximum file size to 2MB by default, with the file size measured in kilobytes (KB). You can adjust this value to your preferred size in KBs.

6. MakeForms offers a convenient feature that lets you choose from a predefined list of “File Types.” This means you don’t need to specify the exact file extension for common elements like images, videos, and documents. MakeForms has them ready for you. You can select all the file extensions in a particular category by clicking the category name or choose a specific format by clicking the extension name. For example, you might want to select all image file formats, but for audio formats, you may only want to select WAV and MP3.

7. If you want to permit a custom file format, scroll down to the bottom and choose “Other.” When you select “Other,” a text area below the “Allowed File Types” will become active. You can enter the file extension that you want to add in this text area.
