Building Loan Eligibility Form – Part 1
📄 Download PDF Documentation
This tutorial is set up in 2 parts. This is part 1 of the tutorial. In this tutorial, we will only set up the form. You can check out part 2 here
Part 1: Setting up the form
1. In this tutorial, we aim to build a detailed Loan Assessment tool. This tool will help users determine their loan eligibility. We’ll be using MakeForms to delve deep into its logic functionality. The demonstration involves a step form divided into 9 sections. Depending on the loan application type, some steps will be skipped. Here are the specific conditions we’ll implement:
- Only accept loan applications originating from the USA.
- Display steps relevant to the chosen loan type: business or personal.
- In the business details section, if the revenue is either below $1M or exceeds $5M, present a message and hide subsequent steps.
- For the address input, if the communication address matches the billing address, auto-fill the communication address with the billing address details and disable further editing.
- For personal loans, if the loan factor surpasses 30, display a rejection message; otherwise, show an approval message.
- For business loans, if the loan factor exceeds 50, display a rejection message; if not, show an approval message.
2. Let’s break down the steps for our Loan Assessment tool:
Step 1: Country Information: This is our initial step. Here, users will choose their country of residence. There’s also an accompanying message that will be displayed if a user selects a country other than the USA.
Step 2: Customer Profile: In this step, the user indicates the type of loan they’re interested in, either business or personal.
Step 3: Personal Details: This step will only appear if the user opts for a Personal Loan in the previous step.
For a detailed guide on creating a step form, please refer to our dedicated documentation here.

3. Step 4 : Business Details:
This section becomes accessible only when the user chooses the “Business” loan option. To add a twist to our process, we’ve set a specific revenue criterion for eligibility. If the user’s revenue isn’t within the range of $1M to $5M, they won’t be able to continue with the application.

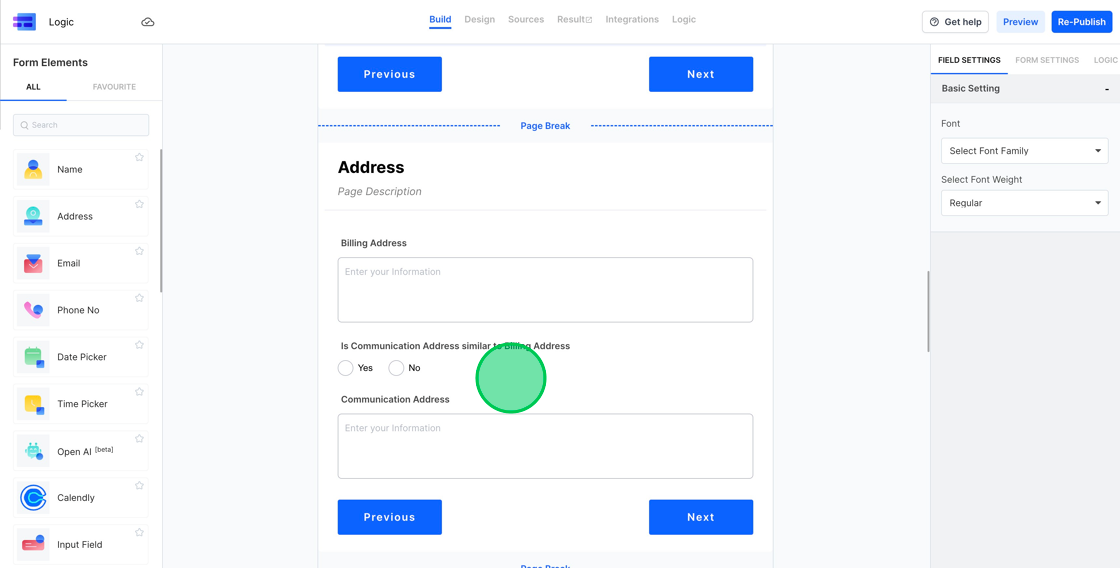
4. Step 5 : Address Details:
This step is universal and will appear regardless of the loan type selected. Within this section, we have implemented a convenient feature. If the user indicates that their communication address is the same as their billing address by selecting “Yes” for the “Is Communication Address similar to Billing Address” option, the system will automatically populate the communication address fields with the billing address details.
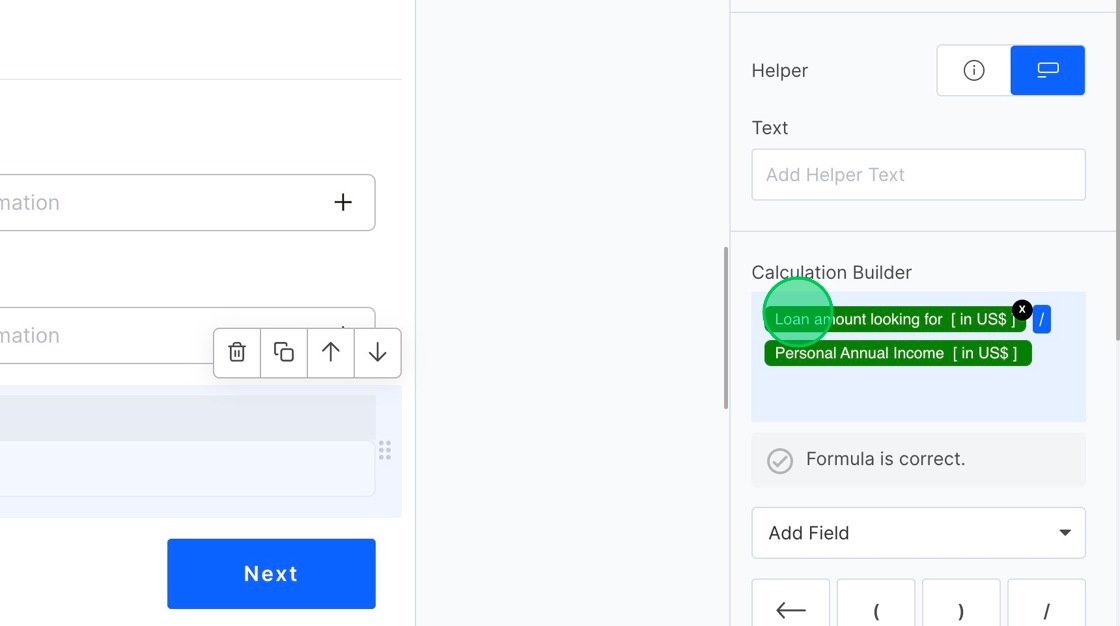
5. Step 6 : Personal Loan Details:
In this phase, users will input their personal income and the desired loan amount. For the purpose of our demonstration, we’ll introduce a concept called the “loan factor.” This is a hypothetical metric, and its value is determined by dividing the requested loan amount by the user’s annual personal income.

6. Personal Loan Details (continued):
To determine the “loan factor,” we’ll utilize a calculated field within our form. By applying the given formula – dividing the desired loan amount by the annual personal income – we’ll obtain the loan factor value. This calculated metric will be pivotal in our decision-making process. Specifically, a user will be deemed eligible for the loan only if their loan factor is under 30.
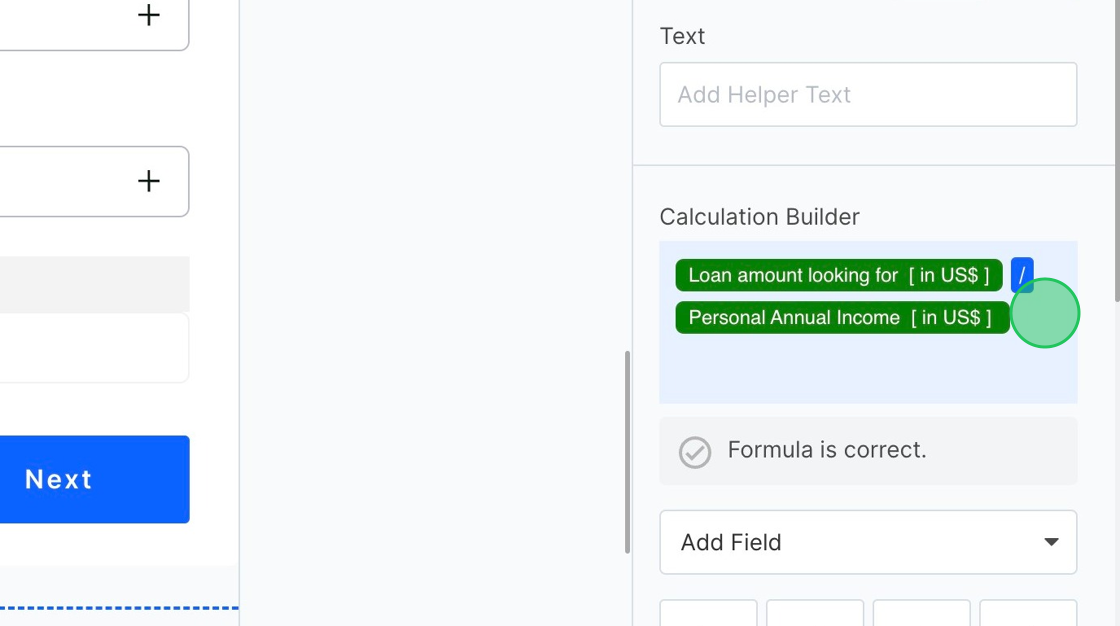
7. Step 7 : Business Loan Details:
Just as with the personal loan, we’ll introduce a “business loan factor” for business loans. This factor will be calculated in a similar manner. For our demo’s purposes, a business will be considered eligible for the loan only if its business loan factor is under 50.
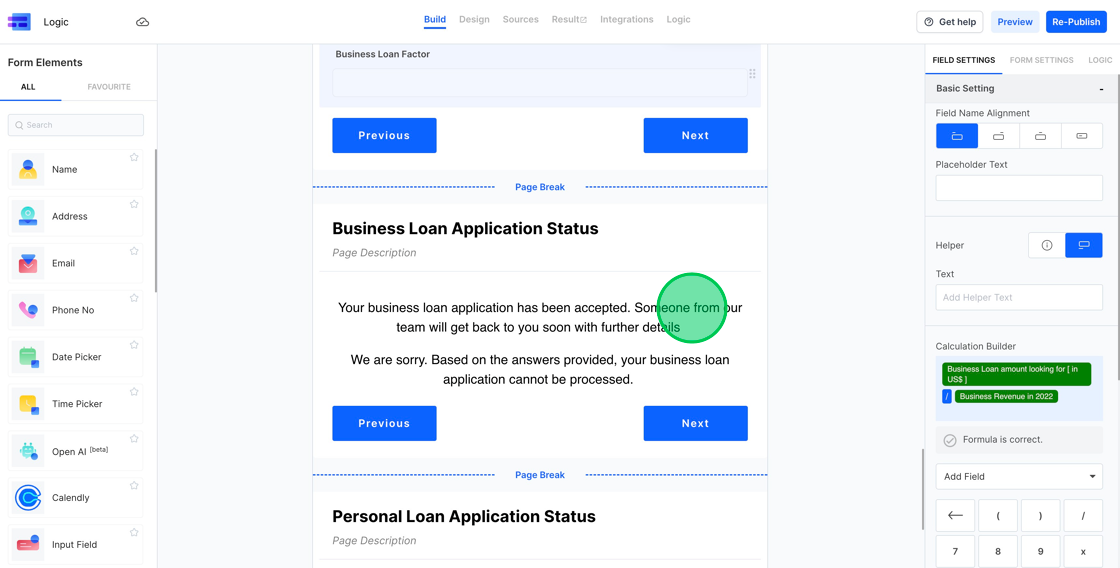
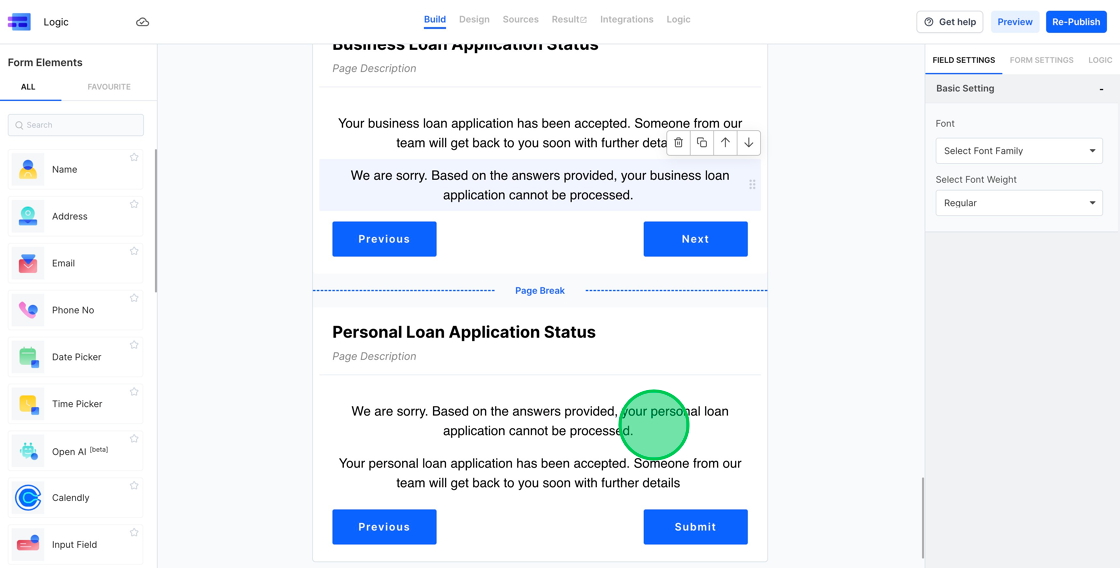
8. Step 8 : Outcome for Business Loan:
In step 8, users will be presented with either a success or failure message based on their business loan application. The message will indicate whether they qualify for the business loan (if the business loan factor is below 50) or if they’re ineligible (if the factor is 50 or above).
9. Step 9 : Outcome for Personal Loan:
In this ninth step, users who applied for a personal loan will see either a success or failure message. The outcome is determined by their personal loan factor. If the factor is below 30, they’ll receive a success message indicating their eligibility. If the factor is 30 or above, they’ll be presented with a message indicating their ineligibility.
10. To conclude, we’ve successfully set up our Loan Assessment Form, capturing all the necessary steps for both business and personal loan applications. With the foundational elements in place, in Part 2, we will delve into establishing the requisite logic to ensure our form operates seamlessly and effectively. Stay tuned for the next segment where we’ll make our form fully functional.